WPF Prism 框架初始化 电脑版发表于:2025/4/24 17:31  ># WPF Prism 框架初始化 [TOC] 什么是 Prism Bootstrapper? ------------ tn2>Prism Bootstrapper 是一个抽象类,它定义了一个基本的启动序列,用于初始化应用程序的关键组件。 它允许你在应用程序启动时配置和初始化各个模块。 ### 创建一个自定义 Bootstrapper tn2>要使用 Prism Bootstrapper,你需要创建一个继承自 PrismBootstrapper 的自定义类,并重写其方法以配置你的应用程序。 ```csharp public class Bootstrapper : PrismBootstrapper { /// <summary> /// 创建应用程序的 Shell(主窗口) /// </summary> /// <returns></returns> protected override DependencyObject CreateShell() { // 使用 Unity 容器解析 MainWindow 作为应用程序的 Shell return Container.Resolve<MainWindow>(); } /// <summary> /// 注册应用程序中使用的类型到依赖注入容器中 /// </summary> /// <param name="containerRegistry"></param> protected override void RegisterTypes(IContainerRegistry containerRegistry) { // 在此处注册应用程序中使用的各种服务和视图模型到依赖注入容器中 // 例如: // containerRegistry.Register<IMyService, MyServiceImpl>(); } } ``` tn2>然后我们修改一下`App.xaml`,将`StartupUri="MainWindow.xaml">`注释掉。 ```xml <Application x:Class="LearningPrism.App" xmlns="http://schemas.microsoft.com/winfx/2006/xaml/presentation" xmlns:x="http://schemas.microsoft.com/winfx/2006/xaml" xmlns:local="clr-namespace:LearningPrism" > <!--StartupUri="MainWindow.xaml">--> <Application.Resources> </Application.Resources> </Application> ``` tn2>然后我们在`App.xaml.cs`中的构造函数运行我们刚刚的`Bootstrapper`。 ```csharp public partial class App : Application { public App() { new Bootstrapper().Run(); } } ``` tn2>这样我们就使用上了`WPF Prism Unity`的IOC了。 运行一下没有任何问题。  ### 直接使用PrismApplication初始化 tn2>我们首先新建一个`LearningPrismUnityIoC`项目,防止学习混乱。 安装好下面三个包: ```csharp <ItemGroup> <PackageReference Include="Prism.Core" Version="9.0.537" /> <PackageReference Include="Prism.Unity" Version="9.0.537" /> <PackageReference Include="Prism.Wpf" Version="9.0.537" /> </ItemGroup> ``` tn2>然后我们修改`App.xaml`标签,将`Application`标签改成`prism:PrismApplication`,注意还需要引用`xmlns:prism="http://prismlibrary.com/"`。 ```xml <prism:PrismApplication xmlns:prism="http://prismlibrary.com/" x:Class="LearningPrismUnityIoC.App" xmlns="http://schemas.microsoft.com/winfx/2006/xaml/presentation" xmlns:x="http://schemas.microsoft.com/winfx/2006/xaml" xmlns:local="clr-namespace:LearningPrismUnityIoC"> <Application.Resources> </Application.Resources> </prism:PrismApplication> ``` tn2>然后我们在`App.xaml.cs`将继承的基类改为`PrismApplication`。 ```csharp public partial class App : PrismApplication { protected override Window CreateShell() { return Container.Resolve<MainWindow>(); } protected override void RegisterTypes(IContainerRegistry containerRegistry) { } } ``` tn2>为了方便演示我在`MainWindow.xaml`中添加了一个按钮。 ```xml <Window x:Class="LearningPrismUnityIoC.MainWindow" xmlns="http://schemas.microsoft.com/winfx/2006/xaml/presentation" xmlns:x="http://schemas.microsoft.com/winfx/2006/xaml" xmlns:d="http://schemas.microsoft.com/expression/blend/2008" xmlns:mc="http://schemas.openxmlformats.org/markup-compatibility/2006" xmlns:local="clr-namespace:LearningPrismUnityIoC" mc:Ignorable="d" Title="MainWindow" Height="450" Width="800"> <Grid> <Button Content="按钮" Margin="0,0,672,364"></Button> </Grid> </Window> ``` 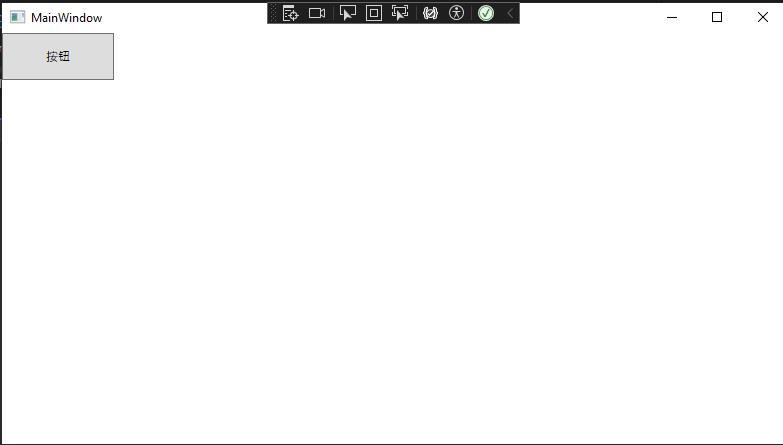 ### 登录示例一 tn2>如果我们在进入到`MainWindow`之前,我们需要先进入登录页`LoginWindow.xaml`怎么做呢? 首先我们需要创建一下`LoginWindow.xaml`,然后添加一个按钮并设置当按钮被按下时`DialogResult`的值改为`true`。 ```xml <Window x:Class="LearningPrismUnityIoC.LoginWindow" xmlns="http://schemas.microsoft.com/winfx/2006/xaml/presentation" xmlns:x="http://schemas.microsoft.com/winfx/2006/xaml" xmlns:d="http://schemas.microsoft.com/expression/blend/2008" xmlns:mc="http://schemas.openxmlformats.org/markup-compatibility/2006" xmlns:local="clr-namespace:LearningPrismUnityIoC" mc:Ignorable="d" Title="LoginWindow" Height="450" Width="800"> <Grid> <Button Content="打开MainWindows" FontSize="50" Click="Button_Click"></Button> </Grid> </Window> ``` ```csharp public partial class LoginWindow : Window { public LoginWindow() { InitializeComponent(); } private void Button_Click(object sender, RoutedEventArgs e) { this.DialogResult = true; } } ``` tn2>然后我们在`App`中的`CreateShell`方法中进行判断当`LoginWindow`被打开并且`DialogResult`值为`true`的时候,将会打开`MainWindow`窗体。 ```csharp public partial class App : PrismApplication { protected override Window CreateShell() { if (Container.Resolve<LoginWindow>().ShowDialog() == true) { return Container.Resolve<MainWindow>(); } return null; } protected override void RegisterTypes(IContainerRegistry containerRegistry) { } } ``` tn2>除此之外,我们还需要在`App.xaml`中添加一个属性`ShutdownMode="OnExplicitShutdown"`,完整代码如下所示: ```xml <prism:PrismApplication xmlns:prism="http://prismlibrary.com/" x:Class="LearningPrismUnityIoC.App" xmlns="http://schemas.microsoft.com/winfx/2006/xaml/presentation" xmlns:x="http://schemas.microsoft.com/winfx/2006/xaml" xmlns:local="clr-namespace:LearningPrismUnityIoC" ShutdownMode="OnExplicitShutdown" > <Application.Resources> </Application.Resources> </prism:PrismApplication> ``` tn>当 `ShutdownMode` 设置为 `OnExplicitShutdown` 时,应用程序不会在任何窗口关闭时自动终止,而是必须通过显式调用 `Application.Current.Shutdown()` 方法来手动结束。 tn2>好我们开始运行测试一下: 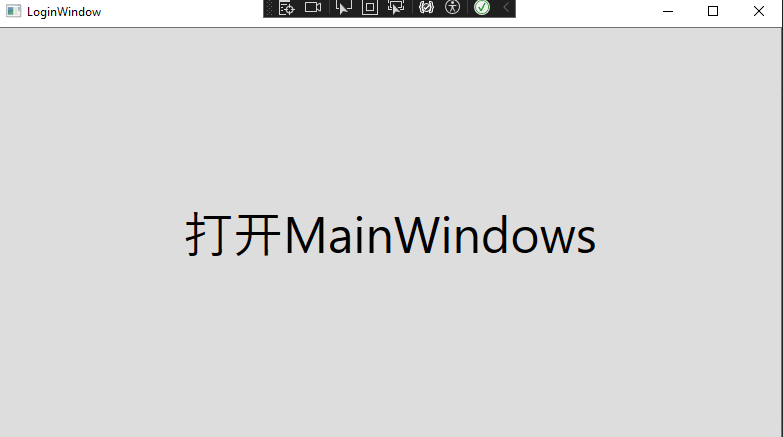 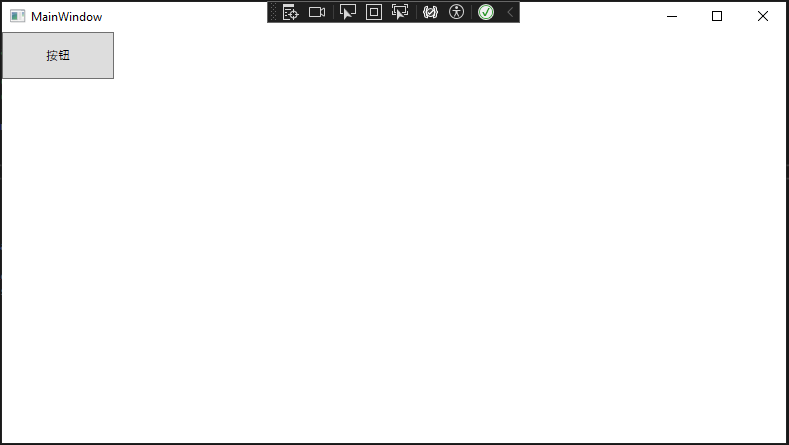 tn2>当然我们可以不用`ShutdownMode="OnExplicitShutdown"`还有另外一种写法,通过`InitializeShell`方法进行实现完成。 ```csharp protected override Window CreateShell() { return Container.Resolve<MainWindow>(); //if (Container.Resolve<LoginWindow>().ShowDialog() == true) //{ // return Container.Resolve<MainWindow>(); //} //return null; } protected override void InitializeShell(Window shell) { var loginWin = Container.Resolve<LoginWindow>(); if (loginWin == null || loginWin.ShowDialog() != true) { Application.Current.Shutdown(); } } protected override void RegisterTypes(IContainerRegistry containerRegistry) { } ```  

