WPF基础学习笔记(二) 电脑版发表于:2025/1/8 17:39  >#WPF基础学习笔记(二) [TOC] 设置控件样式 ------------ tn2>在 WPF 中,`Setter` 是用来定义控件样式(`Style`)的一个重要元素。 它允许你为控件的某些属性指定值,比如背景色、字体、边框等。`Setter` 会根据控件的状态或特性,自动应用指定的样式。 #### Setter 的基本用法 tn2>`Setter` 用于 `Style` 中,用来为目标控件的特定属性设置值。每个 `Setter` 需要指定两个属性: 1.**Property**:需要设置的属性,例如 `Background`、`FontSize` 等。 2.**Value**:设置该属性的值,可以是常量值(如 `Red`、`16`)或者引用资源(如 `StaticResource` 或 `DynamicResource`)。<br/> 举例: ```xml <Window x:Class="WpfAppLearning.StyleWin" xmlns="http://schemas.microsoft.com/winfx/2006/xaml/presentation" xmlns:x="http://schemas.microsoft.com/winfx/2006/xaml" xmlns:d="http://schemas.microsoft.com/expression/blend/2008" xmlns:mc="http://schemas.openxmlformats.org/markup-compatibility/2006" xmlns:local="clr-namespace:WpfAppLearning" mc:Ignorable="d" Title="StyleWin" Height="450" Width="800"> <Window.Resources> <!-- 定义一个按钮样式 --> <Style x:Key="MyButtonStyle" TargetType="Button"> <!-- 设置按钮的背景颜色 --> <Setter Property="Background" Value="SkyBlue"/> <!-- 设置按钮的字体大小 --> <Setter Property="FontSize" Value="16"/> <!-- 设置按钮的文本颜色 --> <Setter Property="Foreground" Value="White"/> <!-- 设置按钮的边框 --> <Setter Property="BorderBrush" Value="DarkSlateGray"/> <Setter Property="BorderThickness" Value="2"/> </Style> </Window.Resources> <Grid> <!-- 应用样式到按钮 --> <Button Content="Click Me" Style="{StaticResource MyButtonStyle}" Width="200" Height="50" /> </Grid> </Window> ``` 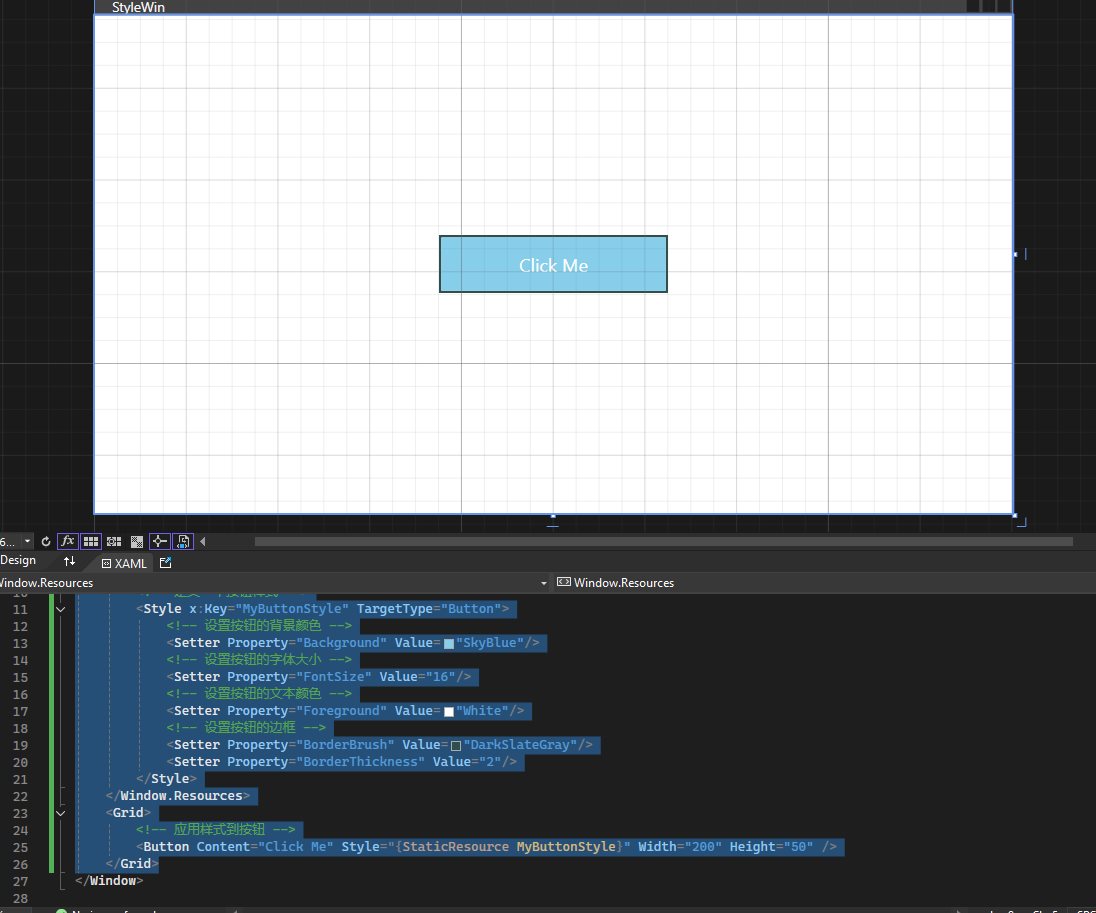 #### Triggers样式触发器 tn2>`Style.Triggers`触发器允许你根据控件的某些属性或状态来改变控件的外观。 这里举个简单的例子通过当一个选项框为`True`时背景色为绿色,当一个选项框为`False`时背景色为红色。 ```xml <Window x:Class="WpfAppLearning.StyleWin" xmlns="http://schemas.microsoft.com/winfx/2006/xaml/presentation" xmlns:x="http://schemas.microsoft.com/winfx/2006/xaml" xmlns:d="http://schemas.microsoft.com/expression/blend/2008" xmlns:mc="http://schemas.openxmlformats.org/markup-compatibility/2006" xmlns:local="clr-namespace:WpfAppLearning" mc:Ignorable="d" Title="StyleWin" Height="450" Width="800"> <Window.Resources> <Style TargetType="CheckBox" x:Key="checkboxStyle"> <Setter Property="Background" Value="Red"></Setter> <Style.Triggers> <Trigger Property="IsChecked" Value="True"> <Setter Property="Background" Value="Green"></Setter> </Trigger> </Style.Triggers> </Style> </Window.Resources> <Grid> <CheckBox Content="Hmy" Style="{StaticResource checkboxStyle}" IsChecked="True"></CheckBox> </Grid> </Window> ``` 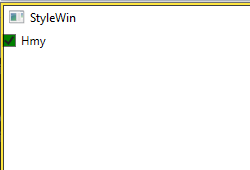 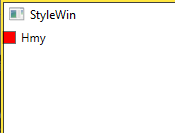 #### MultiTrigger多条件触发器 tn2>MultiTrigger用于检查多个属性的状态,并且只有所有条件都满足时才触发。 这里我举个例子,当`CheckBox`为`False`宽度为100时触发。 ```xml <Window x:Class="WpfAppLearning.StyleWin" xmlns="http://schemas.microsoft.com/winfx/2006/xaml/presentation" xmlns:x="http://schemas.microsoft.com/winfx/2006/xaml" xmlns:d="http://schemas.microsoft.com/expression/blend/2008" xmlns:mc="http://schemas.openxmlformats.org/markup-compatibility/2006" xmlns:local="clr-namespace:WpfAppLearning" mc:Ignorable="d" Title="StyleWin" Height="450" Width="800"> <Window.Resources> <Style TargetType="CheckBox" x:Key="checkboxStyle"> <Setter Property="Background" Value="Red"></Setter> <Style.Triggers> <Trigger Property="IsChecked" Value="True"> <Setter Property="Background" Value="Green"></Setter> </Trigger> <MultiTrigger> <MultiTrigger.Conditions> <Condition Property="IsChecked" Value="False"/> <Condition Property="Width" Value="100"/> </MultiTrigger.Conditions> <Setter Property="Background" Value="Blue"></Setter> </MultiTrigger> </Style.Triggers> </Style> </Window.Resources> <Grid> <CheckBox Content="Hmy" Style="{StaticResource checkboxStyle}" IsChecked="True" Width="100"></CheckBox> </Grid> </Window> ``` 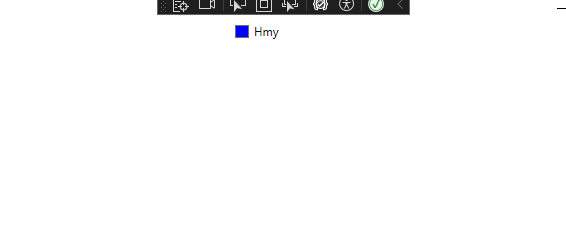 tn2>下面使用`Trigger`通过监控`IsPressed`属性是否点击`Button`按钮来触发将宽度增加到`300`。 ```xml <Window x:Class="WpfAppLearning.StyleWin" xmlns="http://schemas.microsoft.com/winfx/2006/xaml/presentation" xmlns:x="http://schemas.microsoft.com/winfx/2006/xaml" xmlns:d="http://schemas.microsoft.com/expression/blend/2008" xmlns:mc="http://schemas.openxmlformats.org/markup-compatibility/2006" xmlns:local="clr-namespace:WpfAppLearning" mc:Ignorable="d" Title="StyleWin" Height="450" Width="800"> <Grid> <Button Content="Click Me" Width="100" Height="100"> <Button.Style> <Style TargetType="Button"> <Style.Triggers> <Trigger Property="IsPressed" Value="True"> <Trigger.EnterActions> <BeginStoryboard> <Storyboard> <DoubleAnimation Storyboard.TargetProperty="Width" To="300" Duration="0:0:0.5"/> </Storyboard> </BeginStoryboard> </Trigger.EnterActions> </Trigger> </Style.Triggers> </Style> </Button.Style> </Button> </Grid> </Window> ``` 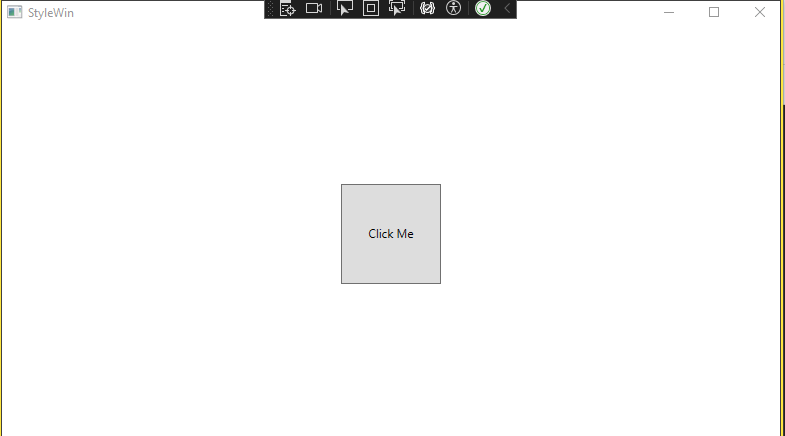 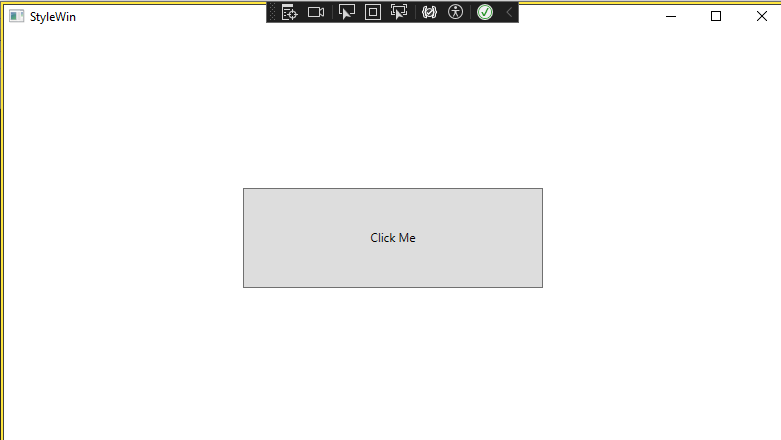 tn>这里需要大家亲自尝试一下才能感觉出来。 然后下面同样通过监听`Button.Click`事件来进行触发: ```xml <Window x:Class="WpfAppLearning.StyleWin" xmlns="http://schemas.microsoft.com/winfx/2006/xaml/presentation" xmlns:x="http://schemas.microsoft.com/winfx/2006/xaml" xmlns:d="http://schemas.microsoft.com/expression/blend/2008" xmlns:mc="http://schemas.openxmlformats.org/markup-compatibility/2006" xmlns:local="clr-namespace:WpfAppLearning" mc:Ignorable="d" Title="StyleWin" Height="450" Width="800"> <Grid> <Button Content="Click Me" Width="100" Height="100"> <Button.Triggers> <EventTrigger RoutedEvent="Button.Click"> <BeginStoryboard> <Storyboard> <DoubleAnimation Storyboard.TargetProperty="Width" To="300" Duration="0:0:0.5"/> </Storyboard> </BeginStoryboard> </EventTrigger> </Button.Triggers> </Button> </Grid> </Window> ``` 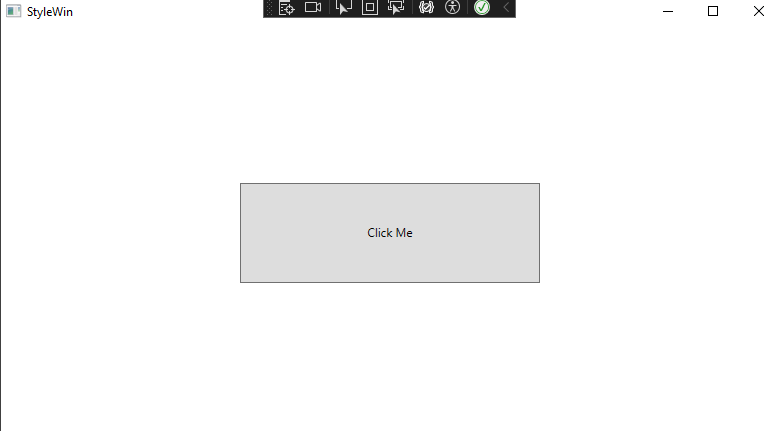 tn2>这里动画标签`DoubleAnimation`其中的属性如下表所示: | 属性名 | 类型 | 说明 | |--------------------------|-----------------|----------------------------------------------------------------------| | `Storyboard.TargetProperty` | `string` | 指定动画所影响的目标属性(如 `Width`、`Height`、`Opacity`)。 | | `To` | `double` | 动画的目标值,即动画最终会变成的值。 | | `From` | `double`(可选)| 动画的起始值,默认为当前值。如果未指定,动画会从当前状态开始变化。 | | `By` | `double`(可选)| 动画的增量值,与起始值叠加计算目标值(与 `To` 互斥)。 | | `Duration` | `TimeSpan` | 动画持续时间,例如 `0:0:0.5` 表示持续 0.5 秒。 | | `AutoReverse` | `bool` | 指定动画结束后是否反向播放,默认为 `false`。 | | `RepeatBehavior` | `RepeatBehavior`| 控制动画重复行为,可指定次数(如 `3x`)或为 `Forever`(无限循环)。 | | `AccelerationRatio` | `double` | 指定动画加速的比例(0-1),控制动画起始阶段的加速效果。 | | `DecelerationRatio` | `double` | 指定动画减速的比例(0-1),控制动画结束阶段的减速效果。 | | `EasingFunction` | `IEasingFunction` | 用于设置动画的缓动函数,如平滑、弹性、回弹等效果。 | | `FillBehavior` | `FillBehavior` | 指定动画结束后是否保留最终值,可设置为 `HoldEnd` 或 `Stop`。 |