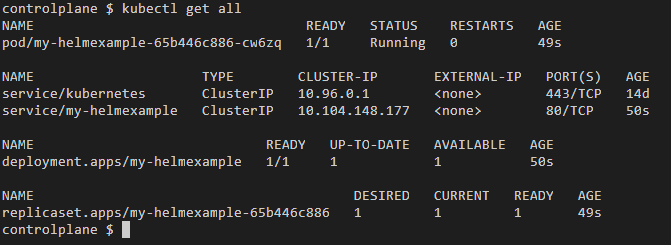
Helm上传Chart到Artifact Hub 电脑版发表于:2023/1/6 12:13  ># Helm上传Chart到Artifact Hub [TOC] 前言 ------------ tn2>Artifact Hub(工件中心)是一个基于 web 的应用程序,支持查找、安装和发布 CNCF 项目的包和配置。例如,这可能包括 Helm chart、Falco 配置、OPA(Open Policy Agent)策略和 OLM 操作器(operator)。 实践 ------------ ### 创建示例chart tn2>首先我们创建一个`helmexample`文件夹,并且在这个目录下打开命令窗口创建一个`helm`示例,并对他进行打包。 ```bash helm create helmexample helm package helmexample ``` 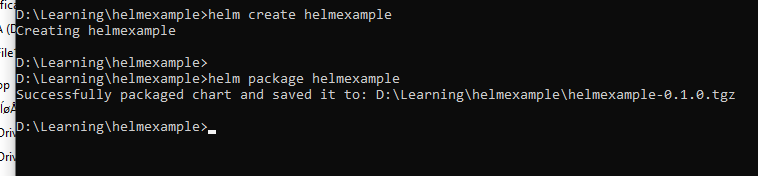 tn2>创建一个打包好的`charts`文件夹,并将打包后的`helmexample-0.1.0.tgz`放到该目录下面。 ```bash mv helmexample-0.1.0.tgz charts ``` ### 创建github仓库 tn2>首先我们创建一个github仓库:https://github.com/AiDaShi/helmexample.git 然后在我们的目录下面执行并上传项目到我们的github仓库中。 ```bash echo "# helmexample" >> README.md git init git add . git commit -m "first commit" git branch -M main git remote add origin https://github.com/AiDaShi/helmexample.git git push -u origin main ```  ### 创建Index索引文件 tn2>索引文件是一个名为 `index.yaml` 的 Yaml 文件。它包含有关 Chart 包的一些元数据,包括 `Chart.yaml` 文件的内容。有效的 Chart Repository 必须具有索引文件。索引文件包含有关 Chart Repository 中每个 Chart 的信息。可以通过 helm repo index 命令将本地目录下的 Chart 生成索引文件。 ```bash helm repo index . ``` tn2>然后我们简单修改一下里面的信息. ```yaml apiVersion: v1 entries: helmexample: - apiVersion: v1 appVersion: 1.16.0 created: "2023-01-06T11:08:11.0881776+08:00" description: A Helm chart for Kubernetes digest: 67d87c187eec57afb3771dcc5d541a5908fa3c75e0ec32318111dac691cd008b name: helmexample type: application version: 0.1.0 home: https://aidashi.github.io/helmexample icon: https://img.tnblog.net/userdata/heads/a011e63c901a433e847b6f0d3dbe1a2f.jpeg kubeVersion: ^1.10.0-0 keywords: - helmexample - elastic - vector - search - deploy maintainers: - email: 86382516@qq.com name: bob url: https://aidashi.github.io/helmexample sources: - https://github.com/AiDaShi/helmexample urls: - https://github.com/AiDaShi/helmexample/raw/main/charts/helmexample-0.1.0.tgz generated: "2023-01-06T11:08:11.0851748+08:00" ``` tn2>最后由于CHART REPOSITORY标准,我们需要将`index.yaml`放`cp`到`charts`下面。 ```bash cp index.yaml charts ``` ### 创建 CHART REPOSITORY tn2>Chart Repository是需要一个HTTP服务器进行管理,其容纳了一个 index.yaml 和 任意个已归档的 Chart 包。当你准备共享 Chart 时,首选的方法是将其上传到 Chart Repository 中。 托管 Chart Repository 需要有一台可以响应 GET 请求的HTTP服务器,因此当你托管自己的 Chart Repository 你可以有很多选择。例如,你可以使用 Google Cloud Storage(GCS)存储,Amazon S3存储,GitHub Pages,甚至可以自己创建 Web 服务器。 tn>详情见 https://helm.sh/docs/topics/chart_repository/ ### CHART REPOSITORY 组织结构 tn2>index.yaml 描述 Chart Repository 中所有 Chart 的索引。通常,index.yaml 文件以及 provenance files 存放在同一台服务器上。 例如,存储库的布局 https://example.com/charts 可能如下所示 ### 创建 WEB 服务 tn2>这里通过 GitHub Pages 为 Chart Repository 提供 Web 服务。 GitHub Action 允许你以两种不同的方式提供静态网页: 1.通过配置项目以提供其 `docs/` 目录的内容 2.通过配置项目以提供特定分支的内容 我们将采用第二种方法,尽管第一种方法同样简单。 第一步是创建 `helmexample-pages` 分支。 ```bash git checkout -b helmexample-pages # 同步远程分支 git push -u origin helmexample-pages ``` tn2>接下来,你将要确保将 helmexample-pages 分支设置为 GitHub Pages,点击你的`repo Setting` 并滚动到 GitHub pages 单元,如下图设置:  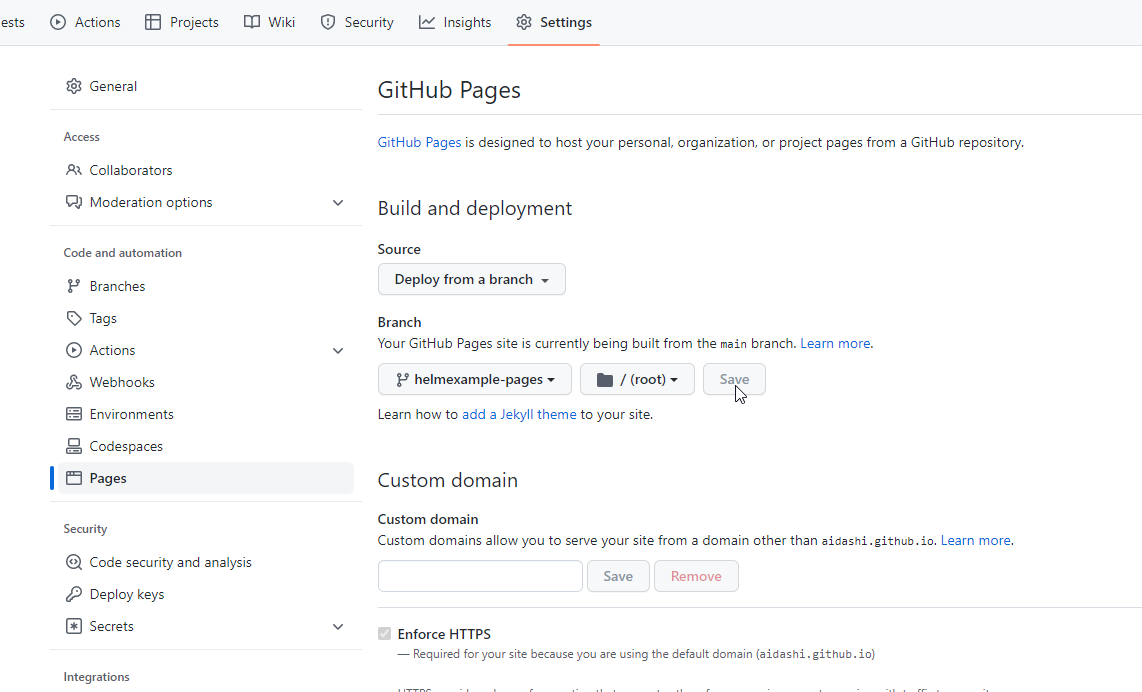 tn2>选择自定义分支并我们的`helmexample-pages`分支后点击保存,然后我们自定义域名。 这里我就设置为:`aidashi-helmexample.github.io/helmexample`。 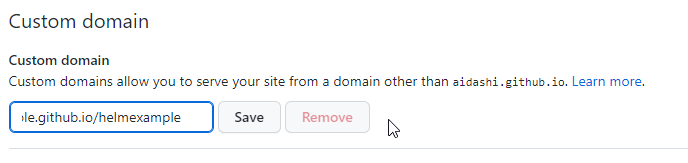  tn2>访问我们的连接看看,是没问题的。 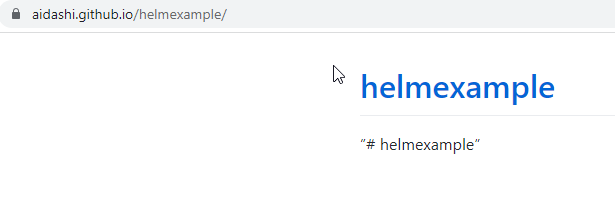 tn2>然后我们打开Artifact Hub的仓库地址:https://artifacthub.io/control-panel/repositories 并进行添加我们的`helmexample`(Display name 后面我没有填写) 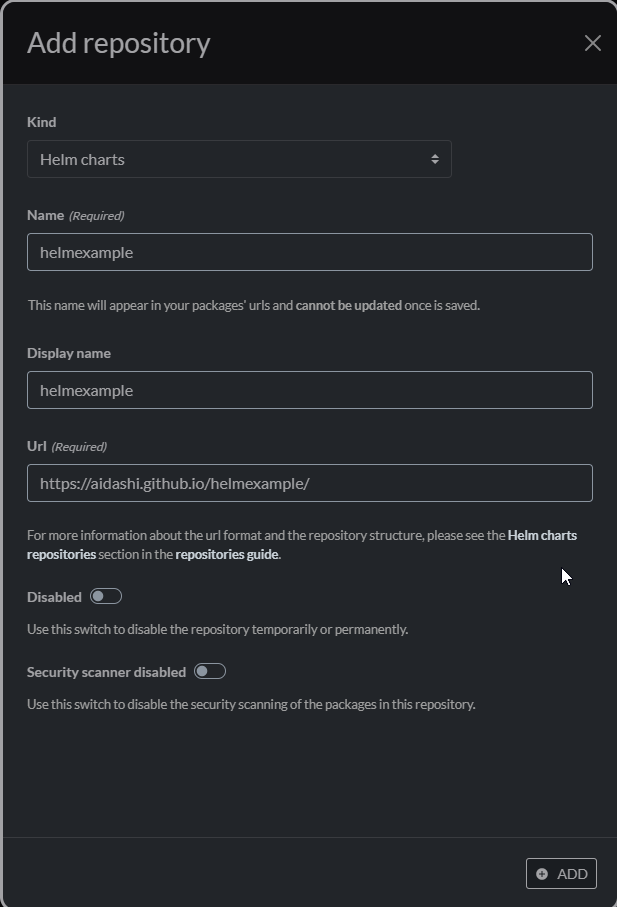  tn2>然后我们搜索我们的helmexample chart 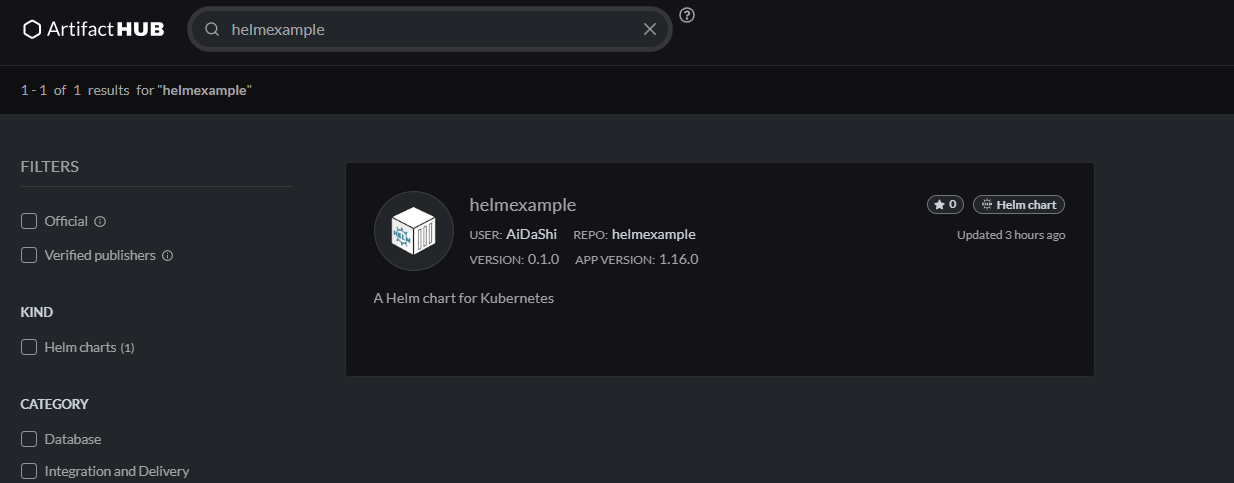 tn2>然后我们找到右上角的`install`安装,可以显示安装命令。 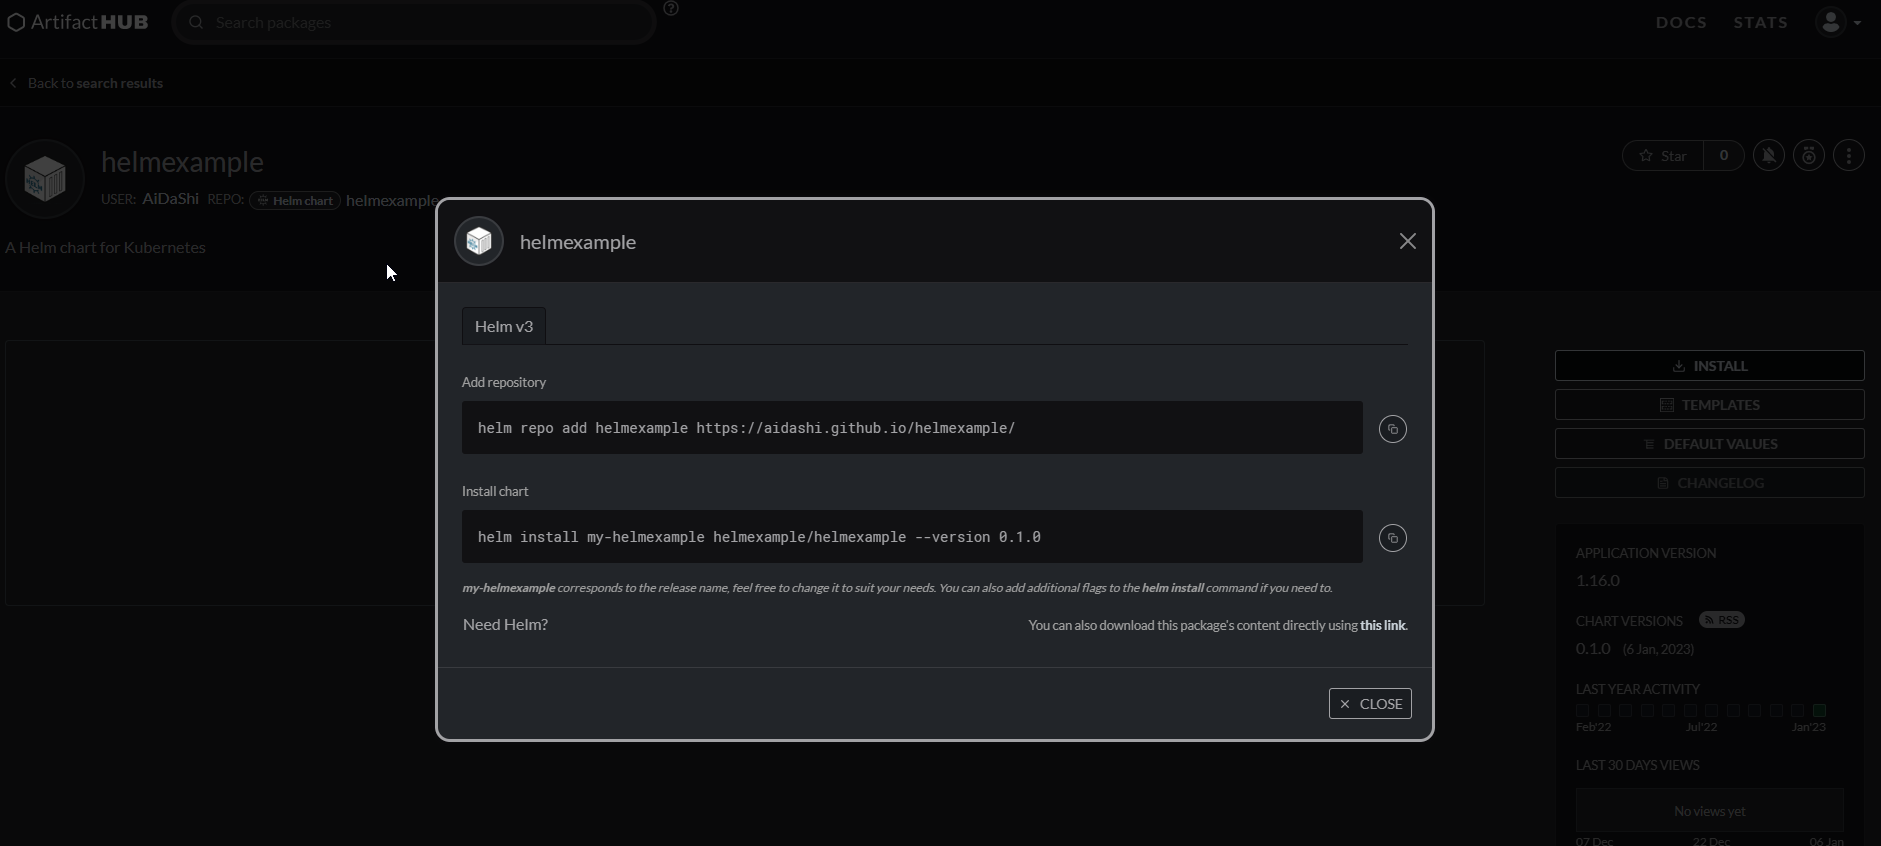 ### 部署 tn2>然后我们在集群中执行简单的部署。 ```bash helm repo add helmexample https://aidashi.github.io/helmexample/ helm install my-helmexample helmexample/helmexample --version 0.1.0 ```  tn2>最后查看部署情况。 ```bash kubectl get all ```