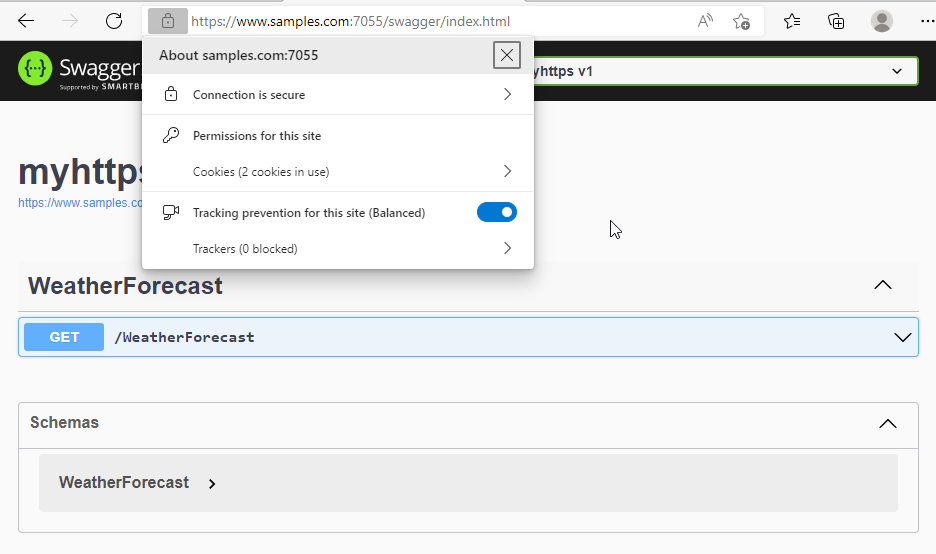
.Net6 设置信任自签证书(浏览器可信任) 电脑版发表于:2022/8/3 16:44  >#.Net6 设置信任自签证书(浏览器可信任) [TOC] ### 先决条件 tn2>确保本地windows上拥有openssl,没有的自己去:http://slproweb.com/products/Win32OpenSSL.html 下载。 ### 开始 tn2>先到指定的证书目录下,创建一个`http.ext`文件,并填写如下内容。 ```bash keyUsage = nonRepudiation, digitalSignature, keyEncipherment extendedKeyUsage = serverAuth, clientAuth subjectAltName=@SubjectAlternativeName [ SubjectAlternativeName ] DNS.1=www.samples.com ``` tn2>在该目录下打开一个`cmd`,创建`www.samples.com`域名的证书。 ```bash openssl genrsa -out test1.key 2048 req -new -key test1.key -out test1.csr x509 -req -days 365 -in test1.csr -signkey test1.key -out test1.cer -extfile http.ext x509 -inform PEM -in test1.cer -out test1.crt pkcs12 -export -out test1.pfx -inkey test1.key -in test1.cer # 查看创建情况 x509 -in test1.cer -text -noout ``` 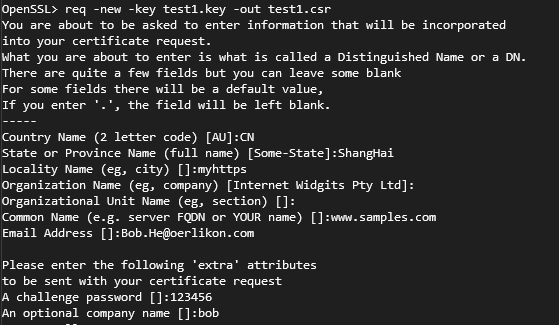  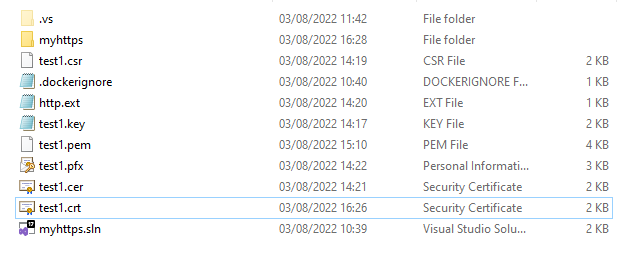 tn2>然后双击`pfx`或`cer`文件进行安装。 ### 创建API项目 tn2>首先我们在`appsettings.json`中创建我们证书的路径、密码与端口变量。 ```json { "Logging": { "LogLevel": { "Default": "Information", "Microsoft.AspNetCore": "Warning" } }, "CertName": "D:\\Learning\\myhttps\\test1.pfx", "CertPwd": "123456", "ServerPort": 7055, "AllowedHosts": "*" } ``` tn2>接着我们在`Program.cs`中设置使用该证书。 ```csharp using Microsoft.Extensions.DependencyInjection; using System.Security.Cryptography.X509Certificates; var builder = WebApplication.CreateBuilder(args) ; builder.WebHost.UseKestrel(options => { var port = builder.Configuration.GetValue<int>("ServerPort"); options.ListenAnyIP(port, config => { var certPath = builder.Configuration.GetValue<string>("CertName"); var certPwd = builder.Configuration.GetValue<string>("CertPwd"); var x509ca = new X509Certificate2(certPath, certPwd); config.UseHttps(x509ca); }); }); builder.Services.AddControllers(); builder.Services.AddEndpointsApiExplorer(); builder.Services.AddSwaggerGen(); var app = builder.Build(); if (app.Environment.IsDevelopment()) { app.UseSwagger(); app.UseSwaggerUI(); } app.UseHttpsRedirection(); app.UseAuthorization(); app.MapControllers(); app.Run(); ``` tn2>然后我们设置本地`hosts`文件,它的位置在`C:\Windows\System32\drivers\etc\hosts`。将请求域名指向本地,添加下面这一行。 ```csharp 127.0.0.1 www.samples.com ``` ### 测试运行 tn2>首先我们启动项目在浏览器中访问我们的Swagger。 我本地地址是:https://www.samples.com:7055/swagger  tn2>发现它并不认可。 所以我们还需要安装证书。 点击浏览器设置。 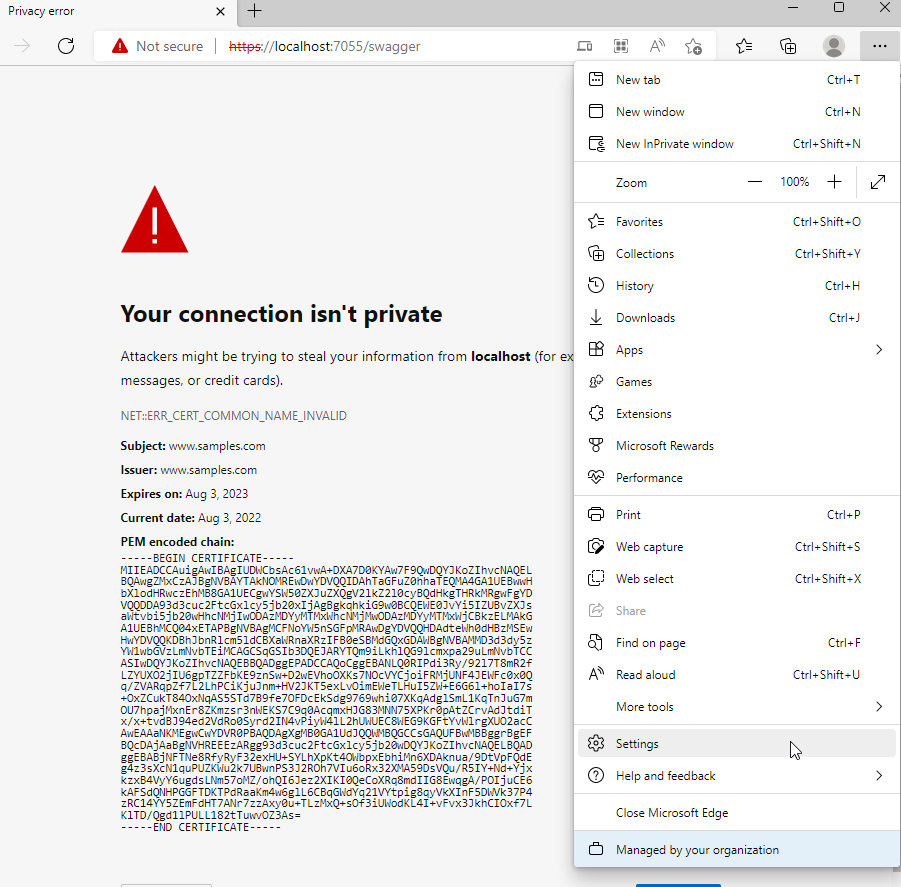 tn2>然后搜索我们的`证书`(certificate),并点击。  tn2>在`Intermediate Certification Authorities`和`Trusted Root Certification Authorities`安装好我们的`www.samples.com`证书。 两个都装。 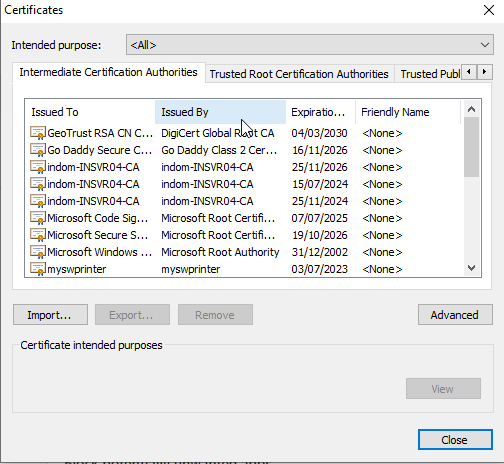  tn2>然后关闭,并重启浏览器进行访问就没什么问题了。 