Xamarin 天气预报小项目(ListView) 电脑版发表于:2022/5/8 13:34  >#Xamarin 天气预报小项目 [TOC] tn2>我们制作的案例大概如下图所示:  ## 实践准备 tn2>首先我们创建一个`Xamarin.From`类型名为`PunchInReminder `的项目,并且勾选上支持Andriod与IOS,然后生成项目解决方案。  tn2>然后在`PunchInReminder`项目中安装我们需要的包,从Nuget上下载。 Flurl是用于我们请求的包 Modernhttpclient-updated是用于我们请求时证书的包  tn2>然后添加我们所需要的图片素材,<a href="https://download.tnblog.net/resource/index/08a85f7f5040442b95988d29aa7c75ae">下载图片素材</a>。下载完成后我们将在`PunchInReminder`项目中创建Image文件夹,并将我们的图片放到该文件夹下面。 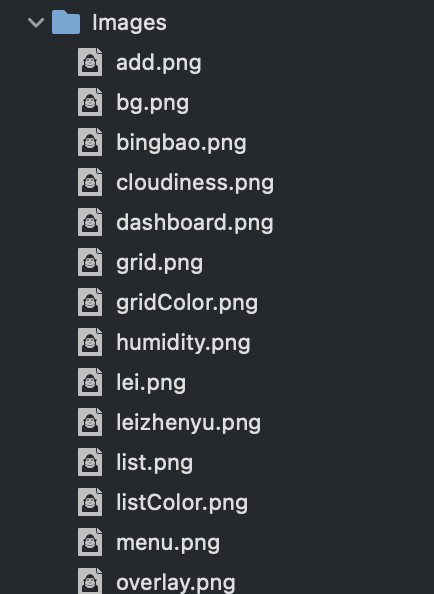 tn2>将其中的图片属性改为嵌入式类型。 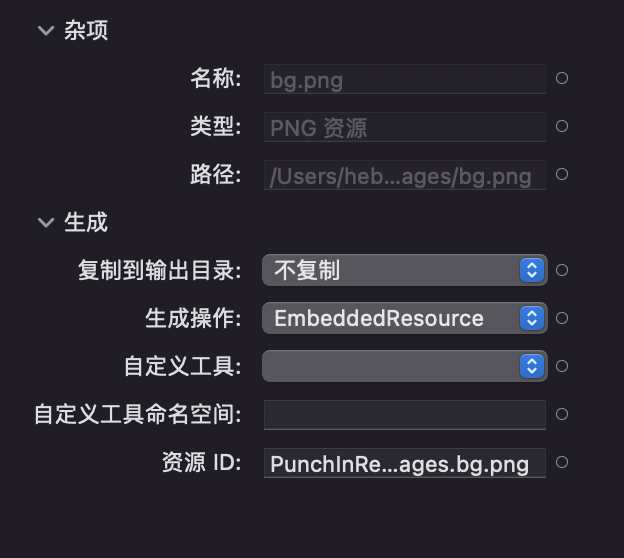 ## 添加代码 tn2>添加一个新的网络类`NetWorkStatusModel`,我们可以通过该类的`NetWorkStatus`属性获取到当前网络环境是否连接上了网络。 ```csharp using System; using Xamarin.Essentials; namespace PunchInReminder { public class NetWorkStatusModel { public bool NetWorkStatus { get => GetNetWorkStatus(); } private bool GetNetWorkStatus() { var current = Connectivity.NetworkAccess; return (current == NetworkAccess.Internet || current == NetworkAccess.ConstrainedInternet); } } } ``` tn2>在Android中我们是需要对其进行开放权限,在`PunchInRemind.Android`项目中的`Properties`下的`AssemblyInfo.cs`中添加`AccessNetworkState`程序集,随后在`AndroidManifest.xml`中添加需要的权限。 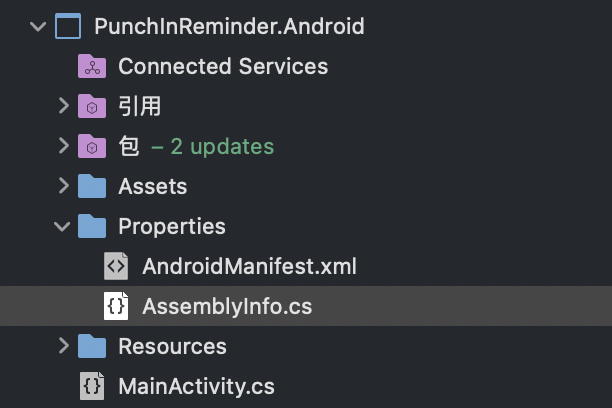 ```csharp [assembly: UsesPermission(Android.Manifest.Permission.AccessNetworkState)] ```  tn2>然后我们创建新的类`WeatherDataModel`,并通过`WeatherSevenData`来获取我们天气预报的数据并将其值获取之后付给相关属性。 `WeatherTime`属性获取当日天气测的时间; `WeatherHeader`属性获取当日天气情况; `Weathers`属性获取七天的天气情况; `RefreshData`方法可以通过实现`INotifyPropertyChanged`接口的`PropertyChanged`属性事件实现前台绑定的值更新。 <br/> 获取数据大致的逻辑是判断是否有网,有网进行请求接口数据,并给相关属性进行赋值。 tn2>天气接口来源于:https://www.tianqiapi.com/index ```csharp public class WeatherDataModel:INotifyPropertyChanged { readonly NetWorkStatusModel _netWorkStatusModel; public WeatherDataModel() { _netWorkStatusModel = new NetWorkStatusModel(); WeatherSevenData(); RefreshData(); } public string WeatherTime { get; private set; } public WeatherDataItem WeatherHeader { get; private set; } public List<WeatherDataItem> Weathers { get; private set; } public event PropertyChangedEventHandler PropertyChanged; private void RefreshData() { var WeatherHeadersargs = new PropertyChangedEventArgs(nameof(WeatherHeader)); var WeatherTimeargs = new PropertyChangedEventArgs(nameof(WeatherTime)); var Weathersargs = new PropertyChangedEventArgs(nameof(Weathers)); PropertyChanged?.Invoke(this, WeatherHeadersargs); PropertyChanged?.Invoke(this, WeatherTimeargs); PropertyChanged?.Invoke(this, Weathersargs); } private void WeatherSevenData() { try { if (_netWorkStatusModel.NetWorkStatus) { var url = "https://v0.yiketianqi.com/api"; var value = url .SetQueryParam("unescape", "1") .SetQueryParam("version", "v91") .SetQueryParam("appid", "43656176") .SetQueryParam("appsecret", "I42og6Lm") .SetQueryParam("ext", "") .SetQueryParam("cityid", "") .SetQueryParam("city", "") .GetAsync() .ReceiveJson<WeatherRoot>().Result ; if (value != null) { // 获取头部数据 WeatherHeader = value.data.First(); WeatherTime = value.update_time; // 获取头部数据 Weathers = value.data; } } } catch (Exception ex) { //DisplayAlert("Error", ex.Message, "OK"); } } } ``` tn2>由于在安卓中可能会遇到证书的问题,所以我们可以为`Flurl`添加相关的证书处理。定义一个获取httpclient的工厂`ModernHttpClientFactory`,并且重写它的消息处理。 然后在`App.xaml.cs`中更改`Flurl`的配置。 ```csharp public class ModernHttpClientFactory:DefaultHttpClientFactory { public override HttpMessageHandler CreateMessageHandler() { return new ModernHttpClient.NativeMessageHandler(); } } ``` ```csharp public App () { InitializeComponent(); FlurlHttp.Configure(c => { c.HttpClientFactory = new ModernHttpClientFactory(); }); MainPage = new MainPage(); } ``` tn>如果你需要进行`http`的请求,因为用的API31版本的手机默认拒绝应用程序使用明文流量的请求,如http,所以要么可以把请求改为https,要么可以在AndroidManifest.xml文件中加入这一句(通过源代码编辑器打开):  ```xml <application android:label="PunchInReminder.Android" android:theme="@style/MainTheme" android:usesCleartextTraffic="true"></application> ``` tn2>然后我们定义好我们图片资源扩展`ImageResourceExtension`类。使它在不同的平台使用嵌入式资源。 详细请参考这篇:https://www.tnblog.net/hb/article/details/7244 ```csharp [ContentProperty(nameof(Source))] public class ImageResourceExtension : IMarkupExtension { public string Source { get; set; } public object ProvideValue(IServiceProvider serviceProvider) { if (Source == null) return null; var imageSource = ImageSource.FromResource(Source, typeof(ImageResourceExtension).GetTypeInfo().Assembly); return imageSource; } } ``` tn2>修改`MainPage.xaml`UI界面,添加好我们的天气预报的UI控件。(控件会在后面慢慢讲到)代码如下: ```xml <?xml version="1.0" encoding="utf-8" ?> <ContentPage xmlns="http://xamarin.com/schemas/2014/forms" xmlns:x="http://schemas.microsoft.com/winfx/2009/xaml" xmlns:img="clr-namespace:PunchInReminder.Extensions" xmlns:weather="clr-namespace:PunchInReminder" x:Class="PunchInReminder.MainPage"> <ContentPage.Resources> <ResourceDictionary> <weather:WeatherDataModel x:Name="weatherModel" x:Key="weatherModel"/> </ResourceDictionary> </ContentPage.Resources> <Grid VerticalOptions="FillAndExpand"> <Grid.RowDefinitions> <RowDefinition Height="Auto" /> <RowDefinition Height="Auto" /> <RowDefinition Height="Auto" /> <RowDefinition Height="*" /> </Grid.RowDefinitions> <Image Source="{img:ImageResource PunchInReminder.Images.overlay.png}" Aspect="Fill" HeightRequest="300" VerticalOptions="StartAndExpand"></Image> <StackLayout Orientation="Horizontal" Spacing="20" HorizontalOptions="Start" VerticalOptions="Start" Margin="20,50"> <ImageButton Source="{img:ImageResource PunchInReminder.Images.menu.png}" WidthRequest="23" HeightRequest="15" HorizontalOptions="Start" VerticalOptions="Start"/> <Label Text="HangZhou" FontSize="16" VerticalOptions="Center" TextColor="White"/> </StackLayout> <StackLayout Orientation="Vertical" Margin="0,20" HorizontalOptions="Center" VerticalOptions="Center"> <StackLayout Orientation="Horizontal" HorizontalOptions="Center"> <Image Source="{Binding Source={x:Reference weatherModel},Path=WeatherHeader.wea_img}" WidthRequest="50" HeightRequest="50" VerticalOptions="Center"></Image> <Label Text="{Binding Source={x:Reference weatherModel},Path=WeatherHeader.tem}" TextColor="White" FontSize="70" FontAttributes="Bold" VerticalOptions="Center"></Label> <Label Text="°C" TextColor="White" FontSize="34" VerticalOptions="Center"></Label> </StackLayout> <Label Text="{Binding Source={x:Reference weatherModel},Path=WeatherHeader.wea}" TextColor="White" FontSize="16" HorizontalOptions="Center"></Label> <Label Text="{Binding Source={x:Reference weatherModel},Path=WeatherTime}" TextColor="White" FontSize="12" HorizontalOptions="Center"></Label> </StackLayout> <!--第二部分--> <Frame Grid.Row="1" HasShadow="True" CornerRadius="10" Margin="20,-40,20,0" Padding="0" HeightRequest="120" VerticalOptions="Start"> <Grid HorizontalOptions="FillAndExpand" VerticalOptions="CenterAndExpand"> <Grid.ColumnDefinitions> <ColumnDefinition Width="*"/> <ColumnDefinition Width="*"/> <ColumnDefinition Width="*"/> <ColumnDefinition Width="*"/> </Grid.ColumnDefinitions> <StackLayout Orientation="Vertical" Spacing="10" HorizontalOptions="CenterAndExpand"> <Image Source="{img:ImageResource PunchInReminder.Images.humidity.png}" HeightRequest="25" VerticalOptions="Center"></Image> <StackLayout Spacing="7" HorizontalOptions="CenterAndExpand"> <Label Text="{Binding Source={x:Reference weatherModel},Path=WeatherHeader.humidity}" TextColor="Black" FontSize="14" FontAttributes="Bold" HorizontalOptions="Center"></Label> <Label Text="Humidity" TextColor="#7D7D7D" FontSize="11" HorizontalOptions="Center"></Label> </StackLayout> </StackLayout> <StackLayout Grid.Column="1" Orientation="Vertical" Spacing="10" HorizontalOptions="CenterAndExpand"> <Image Source="{img:ImageResource PunchInReminder.Images.wind.png}" HeightRequest="25" VerticalOptions="Center"></Image> <StackLayout Spacing="7" HorizontalOptions="CenterAndExpand"> <Label Text="{Binding Source={x:Reference weatherModel},Path=WeatherHeader.win_meter}" TextColor="Black" FontSize="14" FontAttributes="Bold" HorizontalOptions="Center"></Label> <Label Text="Wind" TextColor="#7D7D7D" FontSize="11" HorizontalOptions="Center"></Label> </StackLayout> </StackLayout> <StackLayout Grid.Column="2" Orientation="Vertical" Spacing="10" HorizontalOptions="CenterAndExpand"> <Image Source="{img:ImageResource PunchInReminder.Images.pressure.png}" HeightRequest="25" VerticalOptions="Center"></Image> <StackLayout Spacing="7" HorizontalOptions="CenterAndExpand"> <Label Text="{Binding Source={x:Reference weatherModel},Path=WeatherHeader.pressure,StringFormat='{0} hpa'}" TextColor="Black" FontSize="14" FontAttributes="Bold" HorizontalOptions="Center"></Label> <Label Text="Pressure" TextColor="#7D7D7D" FontSize="11" HorizontalOptions="Center"></Label> </StackLayout> </StackLayout> <StackLayout Grid.Column="3" Orientation="Vertical" Spacing="10" HorizontalOptions="CenterAndExpand"> <Image Source="{img:ImageResource PunchInReminder.Images.cloudiness.png}" HeightRequest="25" VerticalOptions="Center"></Image> <StackLayout Spacing="7" HorizontalOptions="CenterAndExpand"> <Label Text="{Binding Source={x:Reference weatherModel},Path=WeatherHeader.wea_night}" TextColor="Black" FontSize="14" FontAttributes="Bold" HorizontalOptions="Center"></Label> <Label Text="Cloudiness" TextColor="#7D7D7D" FontSize="11" HorizontalOptions="Center"></Label> </StackLayout> </StackLayout> </Grid> </Frame> <!--第三部分--> <StackLayout Grid.Row="2" BackgroundColor="Transparent" Orientation="Horizontal" Margin="20" HorizontalOptions="End"> <ImageButton x:Name="ListBtn" Source="{img:ImageResource PunchInReminder.Images.listColor.png}" WidthRequest="15" HeightRequest="15"></ImageButton> <ImageButton x:Name="GridBtn" Source="{img:ImageResource PunchInReminder.Images.grid.png}" WidthRequest="15" HeightRequest="15"></ImageButton> </StackLayout> <ListView x:Name="WeatherForecastList" ItemsSource="{Binding Source={x:Reference weatherModel},Path=Weathers}" SeparatorVisibility="None" Grid.Row="3" Margin="20,0" VerticalOptions="FillAndExpand" HorizontalOptions="FillAndExpand"> <ListView.ItemTemplate> <DataTemplate> <ViewCell> <Frame BackgroundColor="White" BorderColor="#F0F0F0" Padding="5" Margin="0,0,0,5" HasShadow="False"> <Grid HeightRequest="50" HorizontalOptions="FillAndExpand" VerticalOptions="Start"> <Grid.ColumnDefinitions> <ColumnDefinition Width="*"/> <ColumnDefinition Width="Auto"/> <ColumnDefinition Width="*"/> </Grid.ColumnDefinitions> <Label Text="{Binding week}" TextColor="#757575" FontSize="12" VerticalOptions="Center" Margin="20,0"></Label> <Image Grid.Column="1" Source="{Binding wea_img}" WidthRequest="38" HeightRequest="38" VerticalOptions="Center" HorizontalOptions="Center"></Image> <StackLayout Grid.Column="2" Orientation="Horizontal" Margin="20,0" HorizontalOptions="End" VerticalOptions="Center"> <Label Text="{Binding tem}" TextColor="Black" FontSize="20" FontAttributes="Bold" VerticalOptions="Center"/> <Label Text="°C" TextColor="Black" FontSize="5" VerticalOptions="Center"/> </StackLayout> </Grid> </Frame> </ViewCell> </DataTemplate> </ListView.ItemTemplate> </ListView> </Grid> </ContentPage> ``` ## 运行测试 tn2>安卓 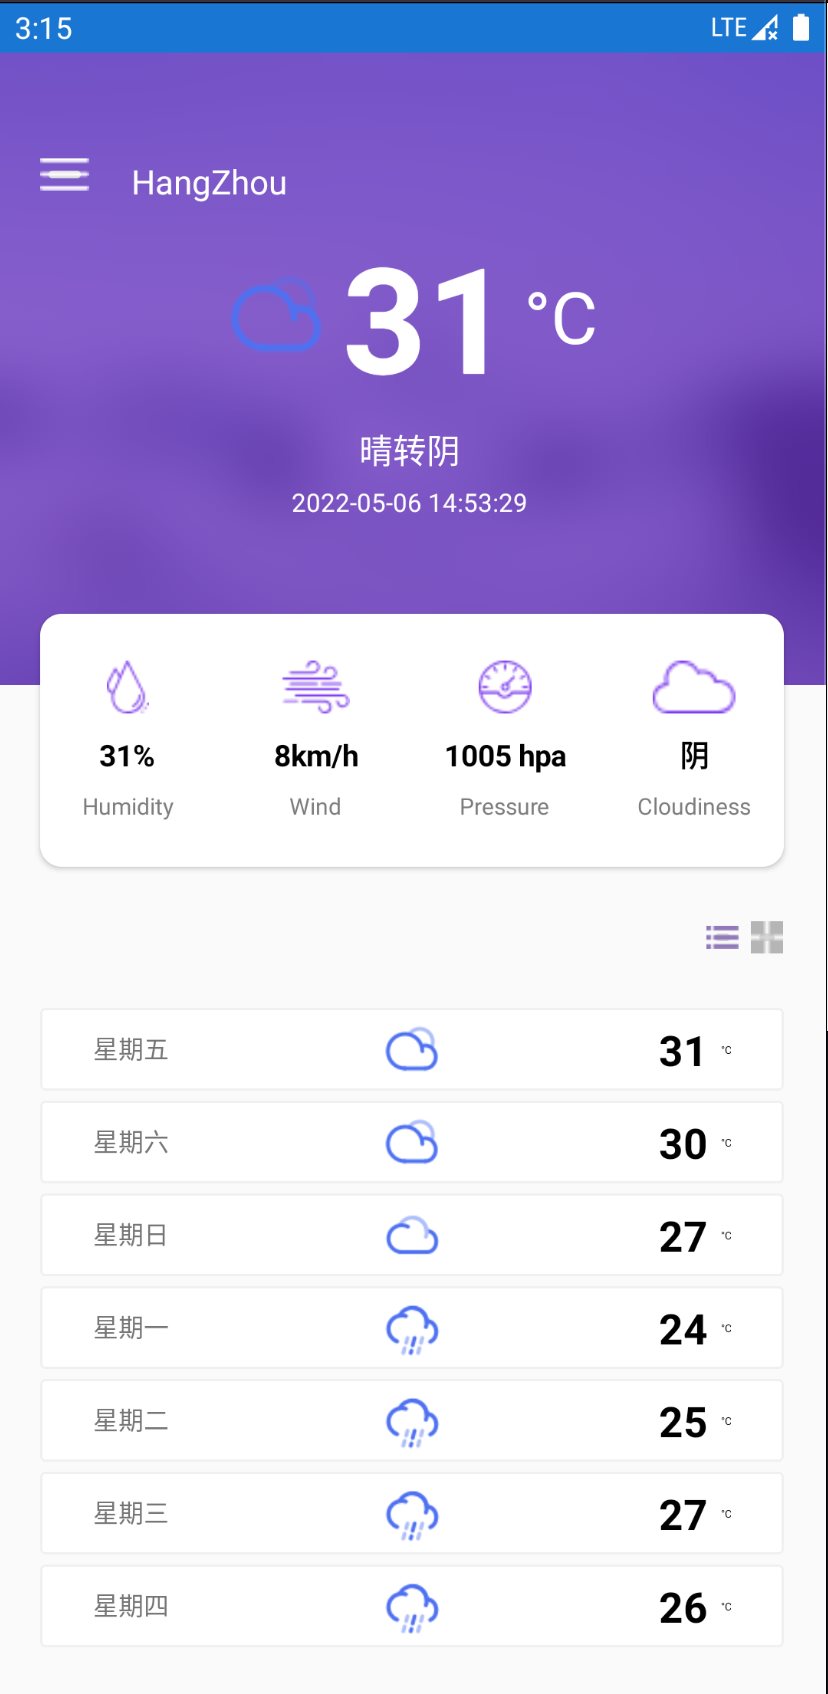 tn2>IOS 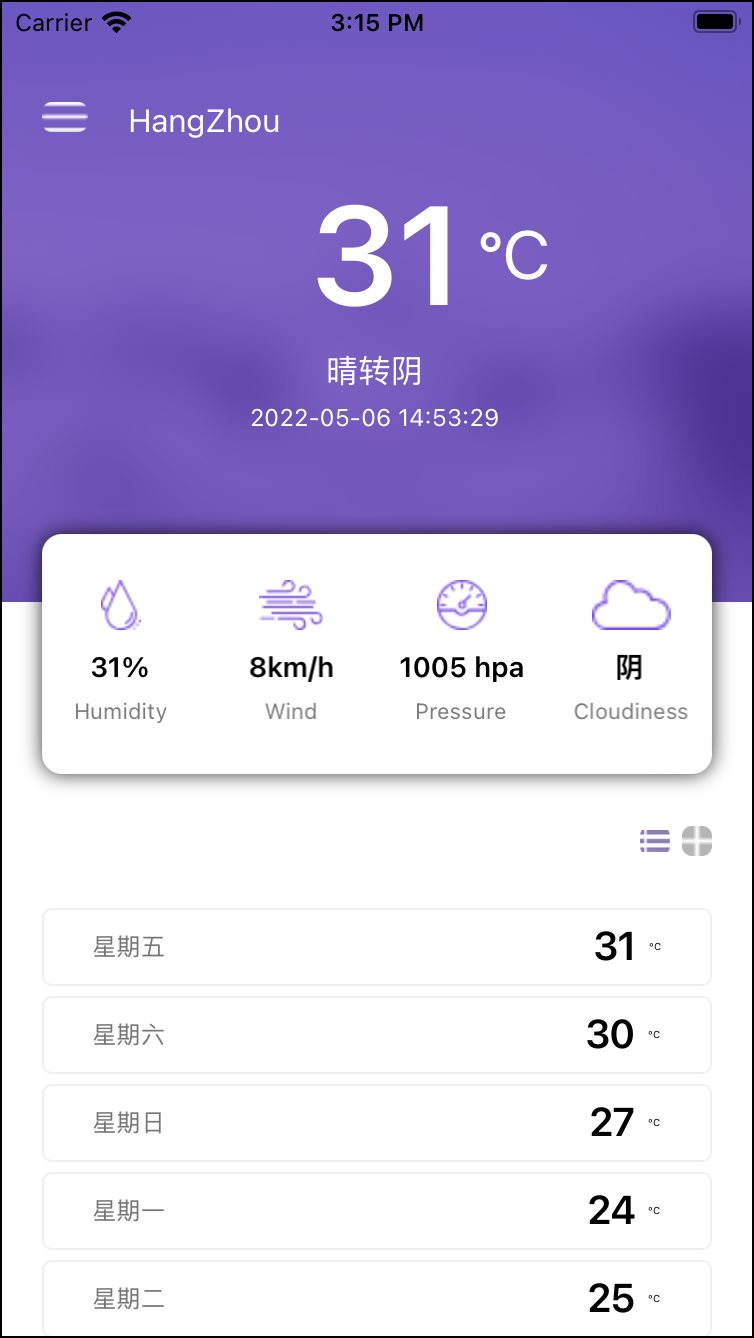 tn2>接下来我们来讲讲这当中用到的集合。 ListView ------------ tn2>ListView 以垂直列表的形式显示数据集合。 >### Demo tn2>定义一个`MyListView`页面,在xaml中创建一个ListView垂直列表数据集合。 ```xml <?xml version="1.0" encoding="UTF-8" ?> <ContentPage xmlns="http://xamarin.com/schemas/2014/forms" xmlns:x="http://schemas.microsoft.com/winfx/2009/xaml" x:Class="PunchInReminder.MyListView"> <ContentPage.Content> <StackLayout> <ListView x:Name="lvProduct"></ListView> </StackLayout> </ContentPage.Content> </ContentPage> ``` ```csharp using Xamarin.Forms; namespace PunchInReminder { public partial class MyListView : ContentPage { public MyListView () { InitializeComponent (); this.lvProduct.ItemsSource = new string[] { "订单","客服","通知" }; } } } ``` 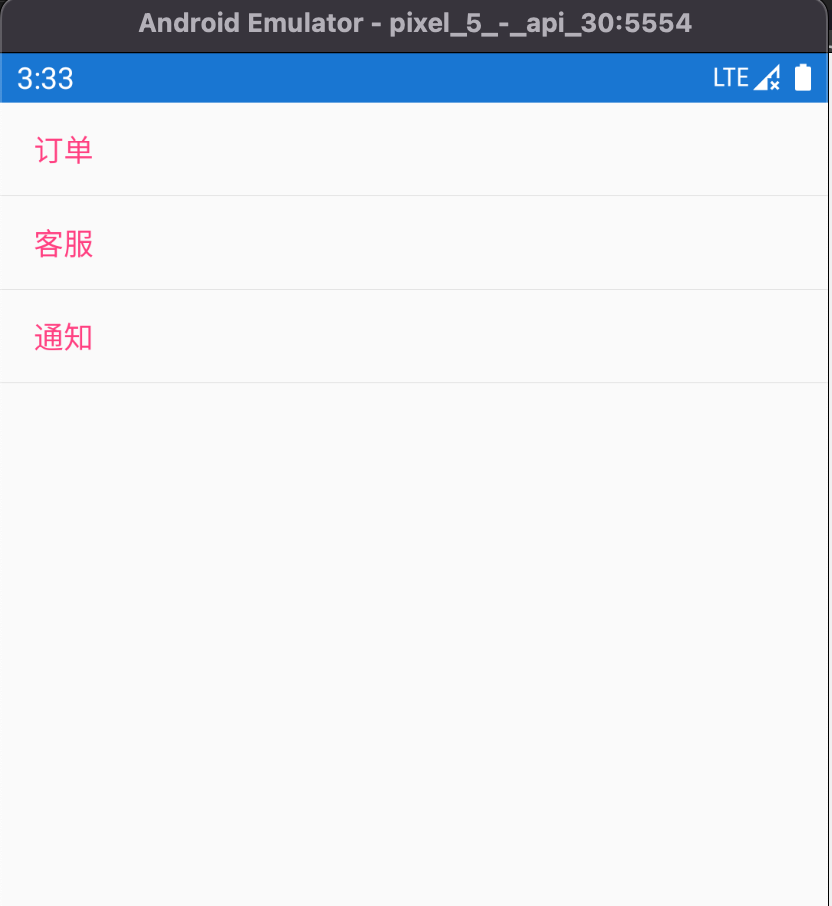 tn2>当然我们还可以设置其他的数据源类进行绑定举例: ```csharp using System; namespace PunchInReminder { public class MyListViewModel { public string[] ItemList { get; set; } public MyListViewModel() { ItemList = new string[] { "订单", "客服", "通知" }; } } } ``` ```xml <?xml version="1.0" encoding="UTF-8" ?> <ContentPage xmlns="http://xamarin.com/schemas/2014/forms" xmlns:x="http://schemas.microsoft.com/winfx/2009/xaml" xmlns:local="clr-namespace:PunchInReminder" x:Class="PunchInReminder.MyListView"> <ContentPage.BindingContext> <local:MyListViewModel/> </ContentPage.BindingContext> <ContentPage.Content> <StackLayout> <ListView ItemsSource="{Binding ItemList}"></ListView> </StackLayout> </ContentPage.Content> </ContentPage> ``` tn2>我们还可以将它变成可观察性的集合。(效果一样我就不掩饰了) ```csharp public class MyListViewModel { public ObservableCollection<string> ItemList { get; set; } public MyListViewModel() { ItemList = new ObservableCollection<string>(); ItemList.Add("订单"); ItemList.Add("客服"); ItemList.Add("通知"); } } ``` >### 文本单元格(TextCell) tn2>接下来我们创建一个功能信息类`FeatureOption`。它有功能ID、功能名称、功能描述以及图片路径等一些属性字段。 ```csharp public class FeatureOption { /// <summary> /// 功能ID /// </summary> public int FeatureId { get; set; } /// <summary> /// 功能名称 /// </summary> public string FeatureName { get; set; } /// <summary> /// 功能描述 /// </summary> public string Describe { get; set; } /// <summary> /// 图片路径 /// </summary> public string ImageUrl { get; set; } } ``` tn2>然后我们将修改的`MyListViewModel`类中的数据。(关于图片请直接在网上找找看,并放到安卓的Resource的drawable目录下面)  ```csharp public class MyListViewModel { public ObservableCollection<FeatureOption> ItemList { get; set; } public MyListViewModel() { ItemList = new ObservableCollection<FeatureOption>(); ItemList.Add(new FeatureOption() { FeatureId=1,FeatureName="订单", Describe = "这是一个订单功能",ImageUrl="dingdan.png" }); ItemList.Add(new FeatureOption() { FeatureId=2,FeatureName= "客服", Describe = "这是一个在线客服",ImageUrl="kefu.png" }); ItemList.Add(new FeatureOption() { FeatureId=3,FeatureName= "通知", Describe = "这是一个通知功能",ImageUrl="tongzhi.png" }); } } ``` tn2>在MyListView.xaml中,我们将ListView输出集合使用数据模版中的TextCell单元格(很好理解文本格式嘛),其中要显示的文本我将绑定FeatureName属性。 所以我们进行运行测试时,会认为没什么区别。 ```xml <?xml version="1.0" encoding="UTF-8" ?> <ContentPage xmlns="http://xamarin.com/schemas/2014/forms" xmlns:x="http://schemas.microsoft.com/winfx/2009/xaml" xmlns:local="clr-namespace:PunchInReminder" x:Class="PunchInReminder.MyListView"> <ContentPage.BindingContext> <local:MyListViewModel/> </ContentPage.BindingContext> <ContentPage.Content> <StackLayout> <ListView ItemsSource="{Binding ItemList}"> <ListView.ItemTemplate> <DataTemplate> <TextCell Text="{Binding FeatureName}"/> </DataTemplate> </ListView.ItemTemplate> </ListView> </StackLayout> </ContentPage.Content> </ContentPage> ``` 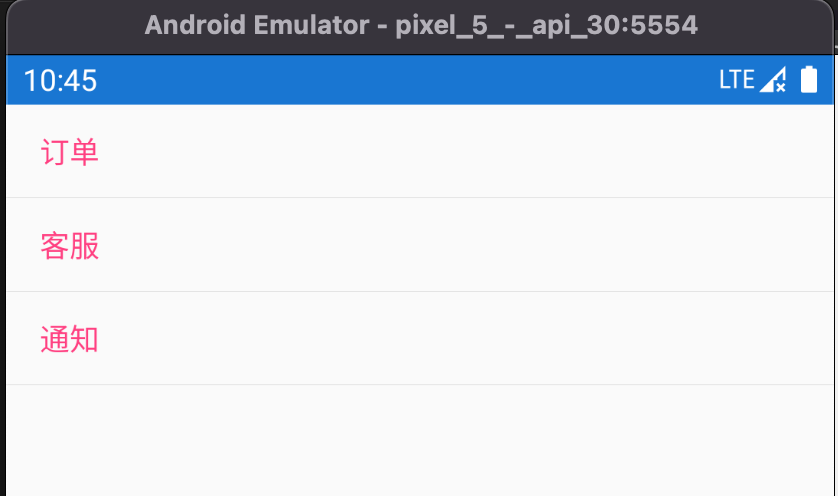 >### 图片单元格(ImageCell) tn2>接着我们使用图片类型的单元格进行展示。它的`Detail`元素将显示图片的详细信息,`ImageSource`显示图片来源。 ```csharp <?xml version="1.0" encoding="UTF-8" ?> <ContentPage xmlns="http://xamarin.com/schemas/2014/forms" xmlns:x="http://schemas.microsoft.com/winfx/2009/xaml" xmlns:local="clr-namespace:PunchInReminder" x:Class="PunchInReminder.MyListView"> <ContentPage.BindingContext> <local:MyListViewModel/> </ContentPage.BindingContext> <ContentPage.Content> <StackLayout> <ListView ItemsSource="{Binding ItemList}"> <ListView.ItemTemplate> <DataTemplate> <ImageCell Text="{Binding FeatureName}" Detail="{Binding Describe}" ImageSource="{Binding ImageUrl}" /> </DataTemplate> </ListView.ItemTemplate> </ListView> </StackLayout> </ContentPage.Content> </ContentPage> ``` 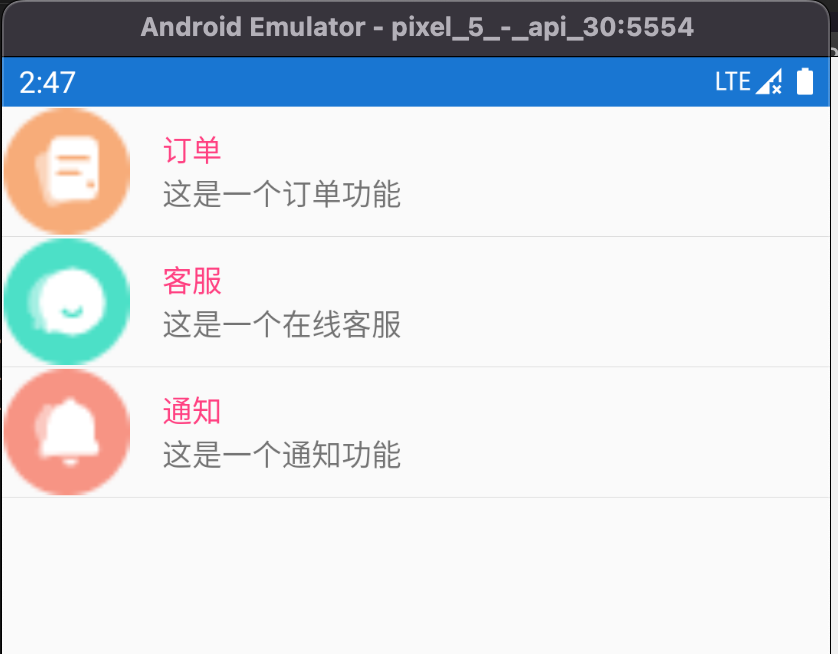 >### 视图单元格(ViewCell) tn2>可以根据我们自己的设置单元格的样式。 ```xml <ListView ItemsSource="{Binding ItemList}"> <ListView.ItemTemplate> <DataTemplate> <ViewCell> <Grid> <Label Text="{Binding FeatureName}"></Label> <Label Text="{Binding Describe}"></Label> </Grid> </ViewCell> </DataTemplate> </ListView.ItemTemplate> </ListView> ``` 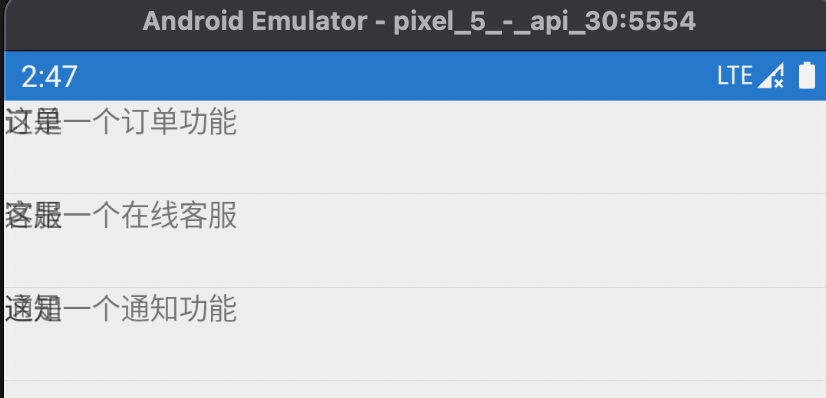 tn2>我们发现文本被重叠在一起了,接着我们通过`VerticalOptions="Center"`进行垂直居中。 ```xml <Grid> <StackLayout VerticalOptions="Center"> <Label VerticalOptions="Center" Text="{Binding FeatureName}"></Label> <Label VerticalOptions="Center" Text="{Binding Describe}"></Label> </StackLayout> </Grid> ``` 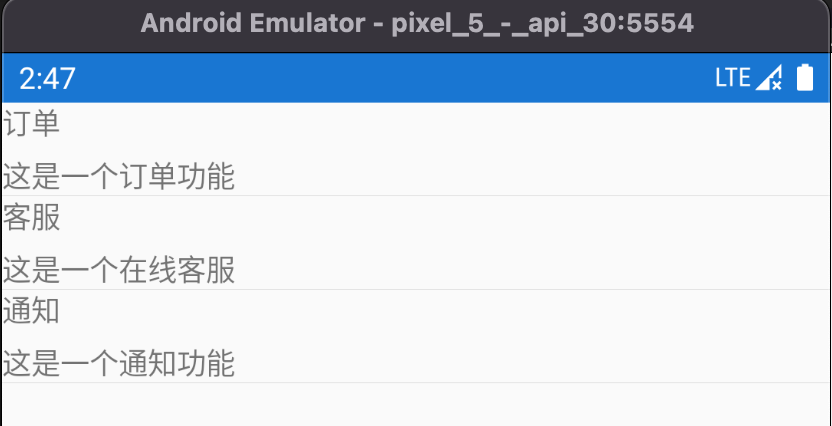 tn2>然后我们添加好我们的图片,设置图片的宽高,并让他们水平定向。 ```xml <StackLayout Orientation="Horizontal"> <Image Source="{Binding ImageUrl}" WidthRequest="100" HeightRequest="100"></Image> <StackLayout VerticalOptions="Center"> <Label VerticalOptions="Center" Text="{Binding FeatureName}"></Label> <Label VerticalOptions="Center" Text="{Binding Describe}"></Label> </StackLayout> </StackLayout> ``` 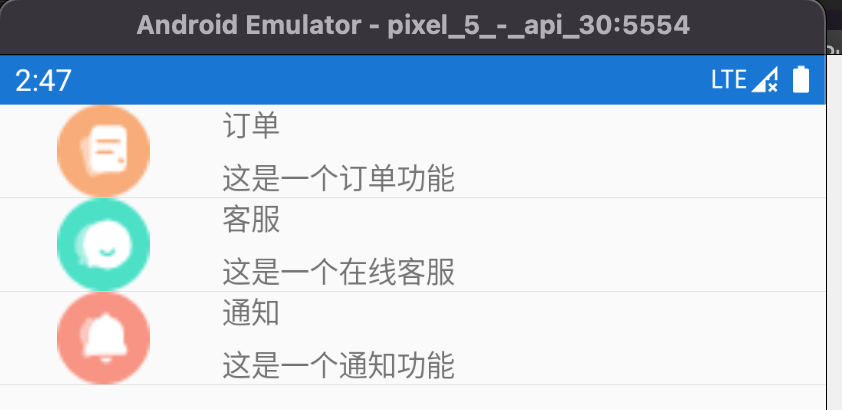 tn2>然后我们添加一个Frame标签设置`CornerRadius`每行边的弧度为10;设置每行上下间间距为10; HasUnevenRows :bool类型,表示列表是否有不均匀的行高,默认值false,设置为true后ListView每行的高度会因为内容不同而提供不同高度。 SeparatorVisibility :SeparatorVisibility枚举,表示分割栏的显示方式。我们这里设置为不显示。(其实就是中间分隔线) ```xml <ListView ItemsSource="{Binding ItemList}" HasUnevenRows="True" SeparatorVisibility="None" > <ListView.ItemTemplate> <DataTemplate> <ViewCell> <Grid Padding="10"> <Frame CornerRadius="10"> <StackLayout Orientation="Horizontal"> <Image Source="{Binding ImageUrl}" WidthRequest="100" HeightRequest="100"></Image> <StackLayout VerticalOptions="Center"> <Label VerticalOptions="Center" Text="{Binding FeatureName}"></Label> <Label VerticalOptions="Center" Text="{Binding Describe}"></Label> </StackLayout> </StackLayout> </Frame> </Grid> </ViewCell> </DataTemplate> </ListView.ItemTemplate> </ListView> ``` 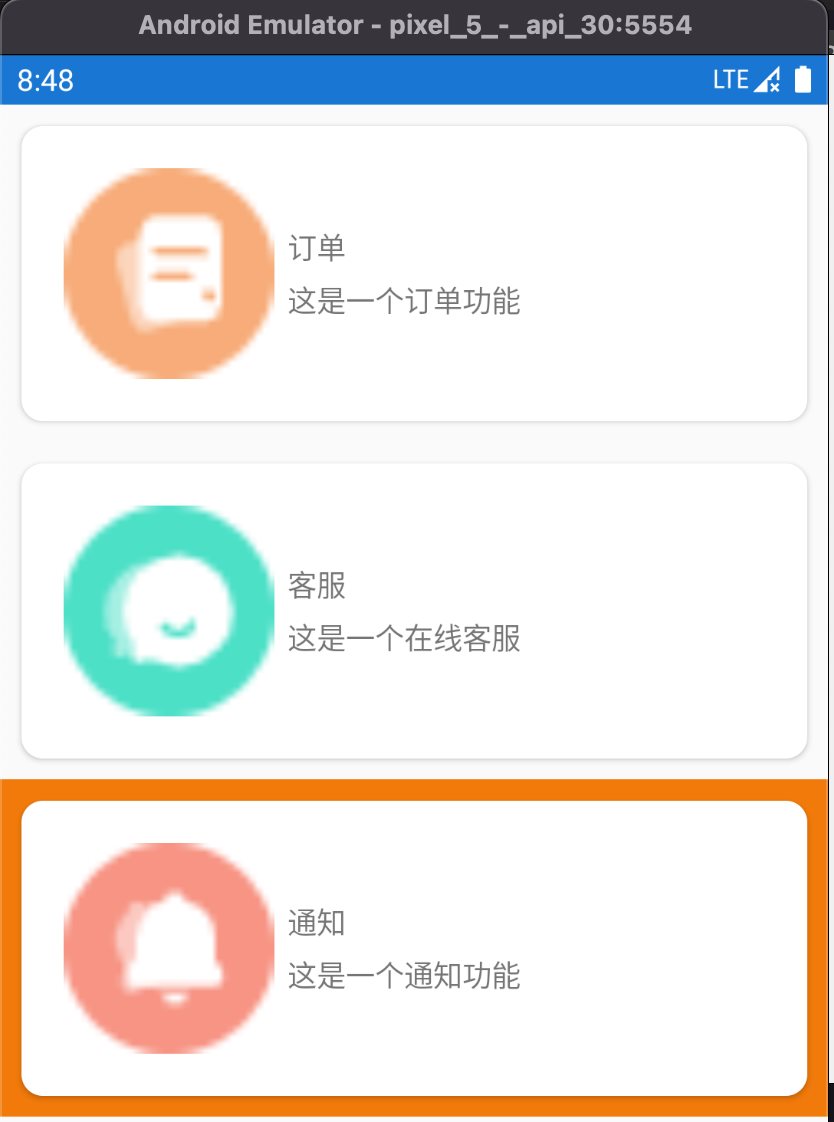 tn2>接下来我们可以通过`SeparatorColor="Blue"`设置分割线的颜色为蓝色,但由于我们这里不显示分割线,所以也看不见。想看见请设置`SeparatorVisibility="Default"`。然后我们设置字体为大写,并通过`HasShadow="True"`设置阴影效果。 ```xml <ListView ItemsSource="{Binding ItemList}" HasUnevenRows="True" SeparatorColor="Blue" SeparatorVisibility="None" > <ListView.ItemTemplate> <DataTemplate> <ViewCell> <Grid Padding="10"> <Frame CornerRadius="10" HasShadow="True"> <StackLayout Orientation="Horizontal"> <Image Source="{Binding ImageUrl}" WidthRequest="100" HeightRequest="100"></Image> <StackLayout VerticalOptions="Center"> <Label VerticalOptions="Center" Text="{Binding FeatureName}" FontSize="Large"></Label> <Label VerticalOptions="Center" Text="{Binding Describe}" FontSize="Large"></Label> </StackLayout> </StackLayout> </Frame> </Grid> </ViewCell> </DataTemplate> </ListView.ItemTemplate> </ListView> ``` 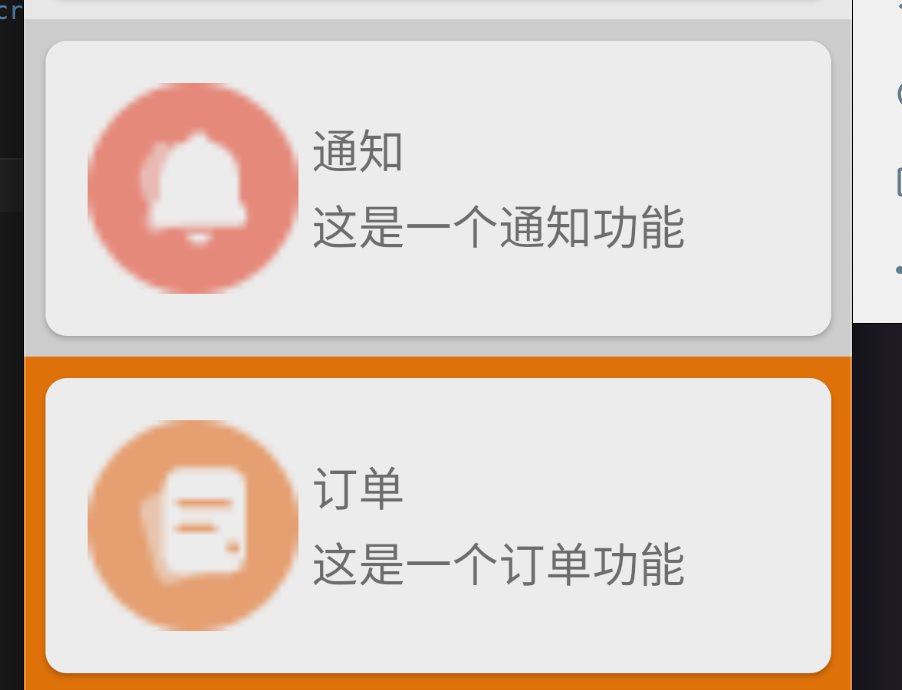 tn2>我们还可以通过`IsPullToRefreshEnabled="True"`属性设置刷新效果,还可以通过`RefreshControlColor="Red"`设置为红色。 ```xml <ListView ItemsSource="{Binding ItemList}" HasUnevenRows="True" SeparatorColor="Blue" SeparatorVisibility="None" IsPullToRefreshEnabled="True" > ```  tn2>接着我们还可以设置ListView的头部与尾部。(在ListView标签下一级添加) ```xml <ListView.Header> <StackLayout Orientation="Horizontal" HorizontalOptions="Center"> <Label Text="Product Info" FontSize="Large" TextColor="Gray"></Label> </StackLayout> </ListView.Header> <ListView.Footer> <StackLayout Orientation="Horizontal" HorizontalOptions="Center"> <Label Text="Load More" FontSize="Large" TextColor="Gray"></Label> </StackLayout> </ListView.Footer> ``` 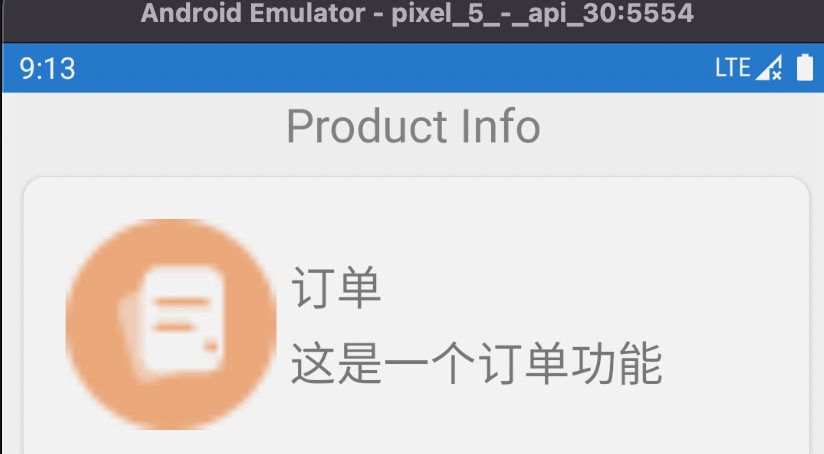 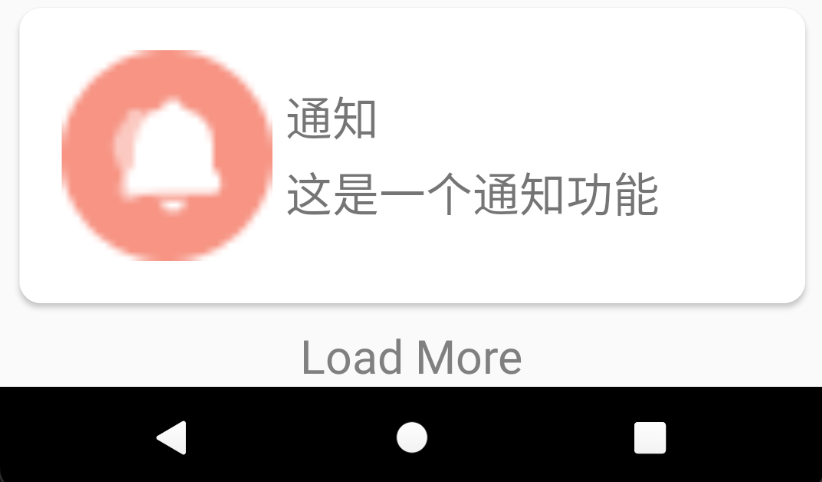 tn2>接下来我们还可以添加删除与修改选项。 ```xml <StackLayout VerticalOptions="Center" HorizontalOptions="EndAndExpand"> <Image Source="edit.png" WidthRequest="30" HeightRequest="30"></Image> <Image Source="sanchu.png" WidthRequest="30" HeightRequest="30"></Image> </StackLayout> ``` 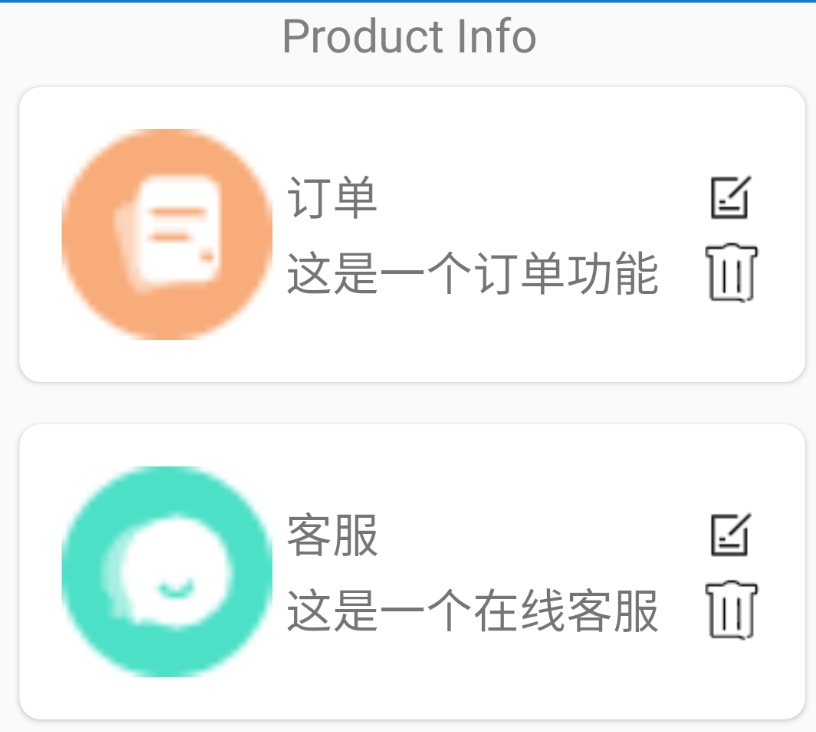 tn2>我们可以在我们的右上方添加Add标签。 ```xml <ContentPage.ToolbarItems> <ToolbarItem Text="Add"/> </ContentPage.ToolbarItems> ``` 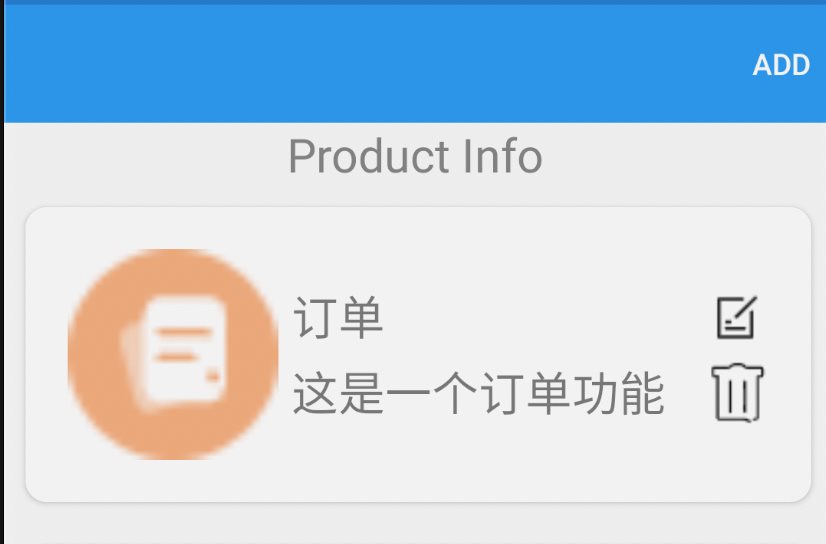 tn>注意:需要在App.xaml.cs有导航栏包裹。 ```csharp MainPage = new NavigationPage(new MyListView()); ```

