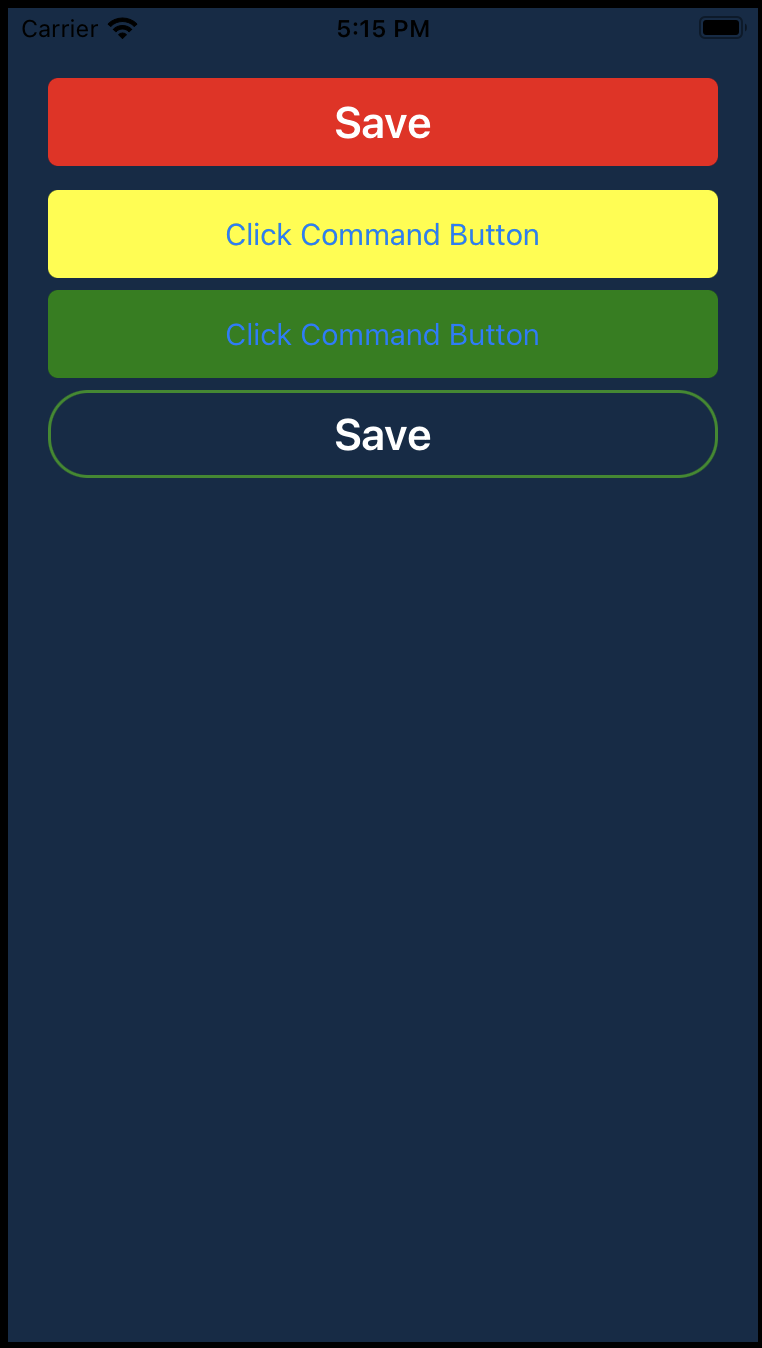
Xamarin.Forms Button 电脑版发表于:2022/4/29 17:18  >#Xamarin.Forms Button [TOC] ## Button标签 tn2>就是按钮标签。下面将列出常用属性: | 属性与事件 | 描述 | | ------------ | ------------ | | Text | 获取或设置显示为按钮内容的文本。 | | BackgroundColor | 获取或设置将填充 VisualElement 背景的颜色。 | | TextColor | 获取或设置按钮文本的颜色。 | | FontSize | 获取或设置按钮文本的字体大小。 | | FontAttributes | 获取用于指示按钮文本的字体是粗体、斜体还是两者皆否的值。 | | Command | 获取或设置激活按钮时要调用的命令。 | | CommandParameter | 获取或设置要传递给 Command 属性的参数。 | | BorderColor | 获取或设置描述按钮边框笔划颜色的颜色。 | | BorderWidth | 获取或设置边框的宽度。 | | CornerRadius | 获取或设置按钮的圆角半径(以与设备无关的单位为单位)。 | | ClassId | 获取或设置用于标识语义相似元素集合的值。 | | Clicked | 单击 Button 时发生。 | >### Demo tn2>创建一个新的ViewPage取名为`Buttons.xaml`,并添加相关代码。 ```xml <?xml version="1.0" encoding="UTF-8" ?> <ContentPage xmlns="http://xamarin.com/schemas/2014/forms" xmlns:x="http://schemas.microsoft.com/winfx/2009/xaml" xmlns:mycustomcontrl="clr-namespace:LableApp.MyCustomContrl" x:Class="LableApp.Buttons" BackgroundColor="#112B47"> <ContentPage.Content> <StackLayout Margin="20,35,20,20"> <Button Text="Save" Clicked="Button_Clicked" BackgroundColor="#F11111" TextColor="#FFFFFF" FontSize="Large" FontAttributes="Bold" /> <Label x:Name="lblMessage" FontSize="Large" TextColor="White"></Label> <Button Text="Click Command Button" BackgroundColor="Yellow" Command="{Binding ButtonCommand}" CommandParameter="Tnblog" ></Button> <Button Text="Click Command Button" BackgroundColor="Green" Command="{Binding ButtonCommand}" CommandParameter="Xamarin Forms" ></Button> <Button VerticalOptions="Center" BackgroundColor="Transparent" BorderColor="ForestGreen" BorderWidth="1.5" CornerRadius="50" TextColor="White" FontAttributes="Bold" FontSize="Large" Text="Save" ClassId="mybutton" Clicked="Button_Clicked_1" ></Button> </StackLayout> </ContentPage.Content> </ContentPage> ``` tn2>在后台添加相关事件与命令。 ```csharp public partial class Buttons : ContentPage { public Buttons () { InitializeComponent (); BindingContext = this; } public ICommand ButtonCommand => new Command<string>(ButtonCommandClick); void Button_Clicked(System.Object sender, System.EventArgs e) { lblMessage.Text = "Save Success"; } void ButtonCommandClick(string str) { lblMessage.Text = str; } void Button_Clicked_1(System.Object sender, System.EventArgs e) { DisplayAlert("Alert", "You have been alerted", "OK"); } } ``` tn2>接着我们在安卓中,运行测试。我们可以看到,它前面几个按钮通过点击会去改变Label绑定了`lblMessage`变量的值。最后一个Save将会通过`DisplayAlert`弹出一个对话框。 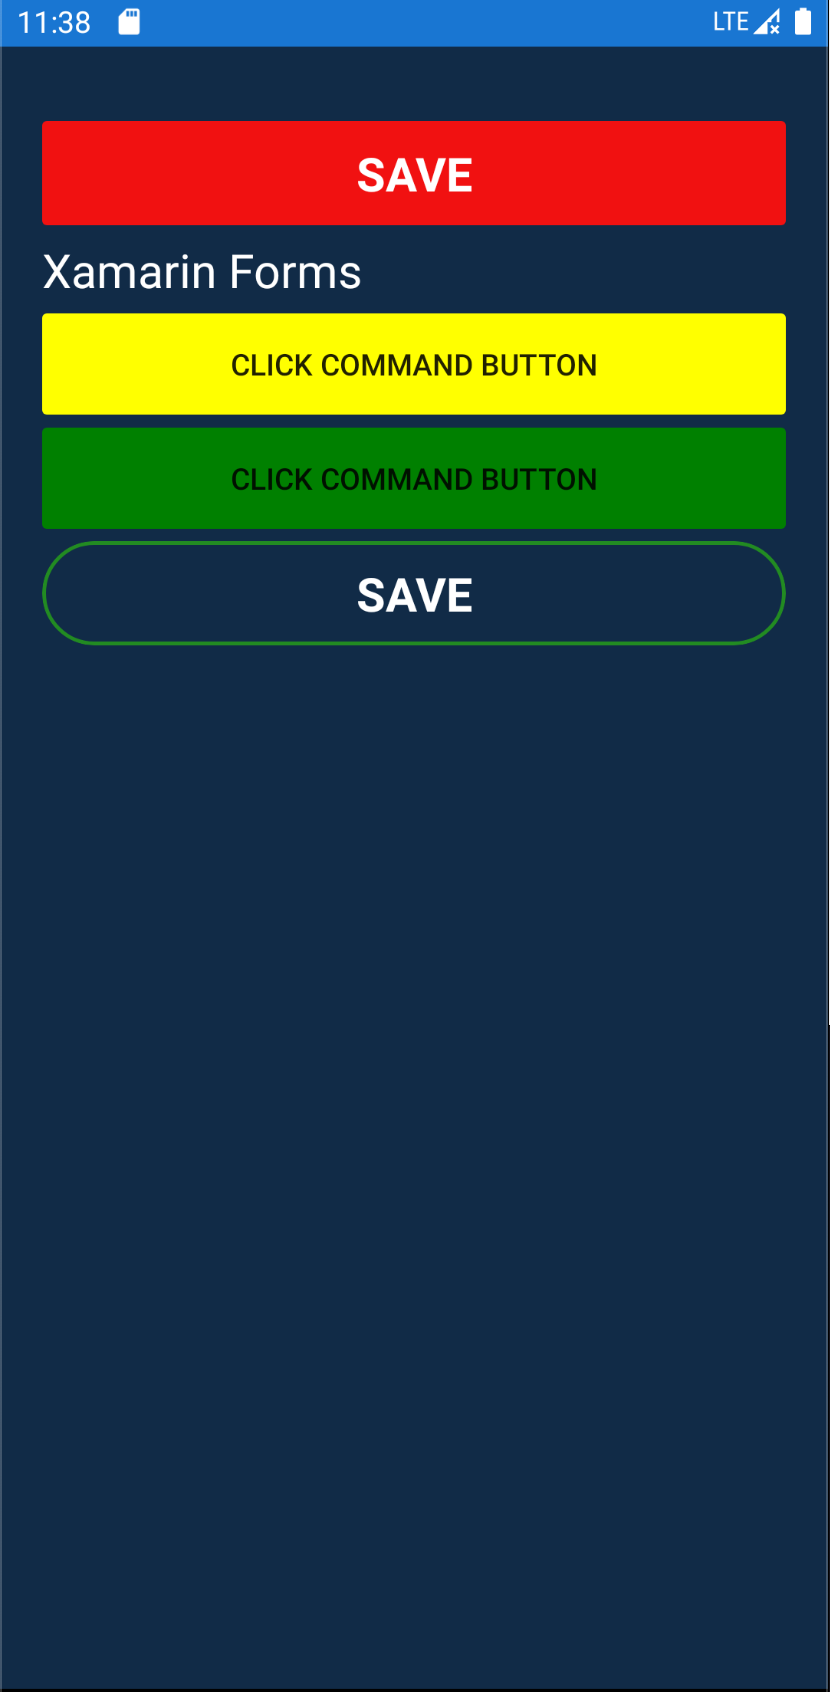 tn2>接着我们在IOS中进行测试。 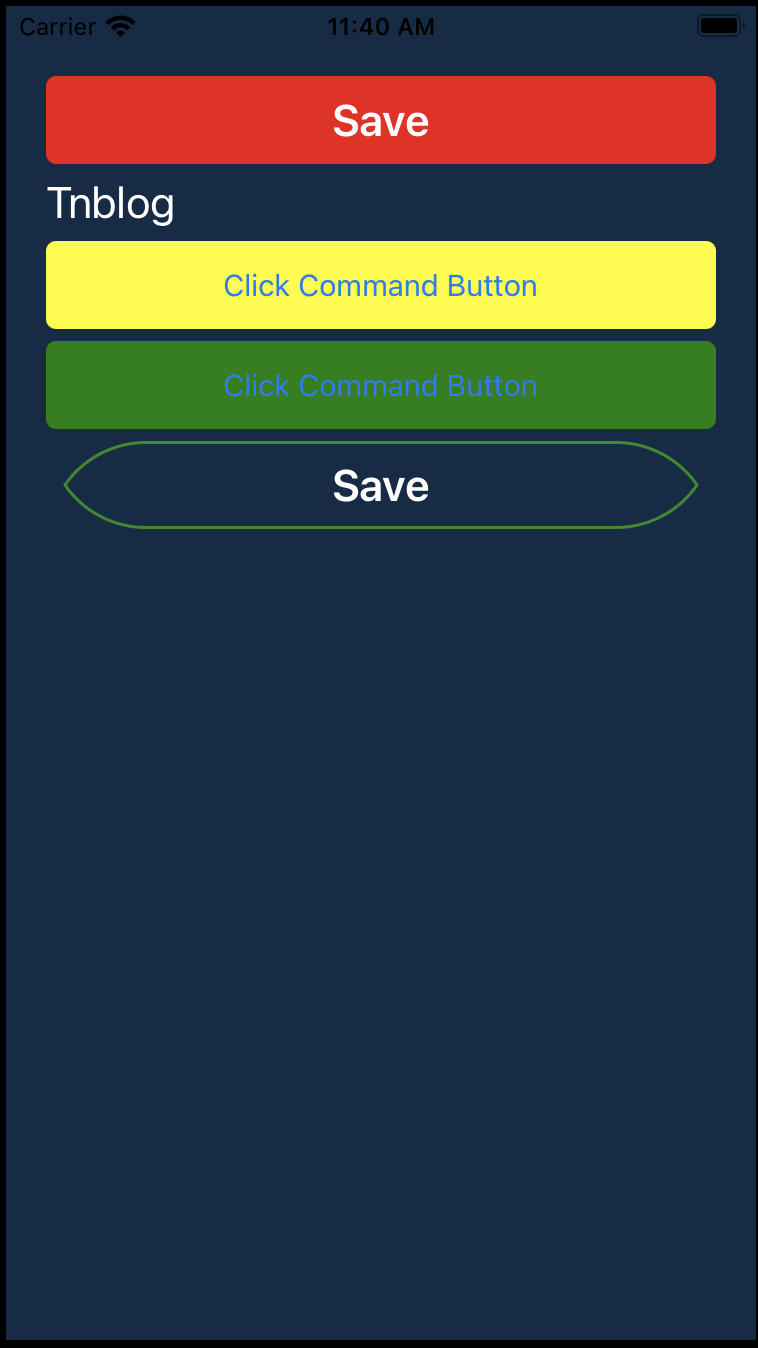 tn2>我们发现它在IOS中,Save按钮的样式不符合我们的理想,所以需要重写它。我们在它的以前的代码中,对该按钮添加了`ClassId`值为`mybutton`,所以我们在重写时,通过`ClassId`来找到该组件并将它的`CornerRadius`改为`20`。 在LabelApp.IOS下创建新的`MyButtonRenderer`类来重写,代码如下: ```csharp using LableApp.iOS; using Xamarin.Forms; using Xamarin.Forms.Platform.iOS; [assembly: ExportRenderer(typeof(Button), typeof(MyButtonRenderer))] namespace LableApp.iOS { public class MyButtonRenderer:ButtonRenderer { protected override void OnElementChanged(ElementChangedEventArgs<Button> e) { base.OnElementChanged(e); if (Control != null) { if (e.NewElement.ClassId == "mybutton") { Control.Layer.CornerRadius = 20; } } } } } ```