.net6使用nacos实现服务注册与服务发现 电脑版发表于:2022/12/25 17:22 tn2>.net6使用nacos作为配置中心: https://www.tnblog.net/aojiancc2/article/details/7870 docker安装nacos v2.1.2: https://www.tnblog.net/aojiancc2/article/details/7865 nacos的官方文档: https://nacos.io/zh-cn/docs/v2/quickstart/quick-start.html .net 的sdk https://github.com/nacos-group/nacos-sdk-csharp nacos下.net的驱动地址: https://github.com/nacos-group/nacos-sdk-csharp [TOC] ## .net6使用nacos服务注册 ### 第一步,添加依赖库 ``` <PackageReference Include="nacos-sdk-csharp" Version="1.3.4" /> <PackageReference Include="nacos-sdk-csharp.AspNetCore" Version="1.3.4" /> <PackageReference Include="nacos-sdk-csharp.Extensions.Configuration" Version="1.3.4" /> <PackageReference Include="nacos-sdk-csharp.IniParser" Version="1.3.4" /> <PackageReference Include="nacos-sdk-csharp.YamlParser" Version="1.3.4" /> ``` ### 第二步,在appsettings.json中配置好使用nacos的信息 ``` "nacos": { "EndPoint": "", "ServerAddresses": [ "nacos服务地址" ], "DefaultTimeOut": 15000, //常用场景之一是不同环境的注册的区分隔离,例如开发测试环境和生产环境的资源(如配置、服务)隔离等。 "Namespace": "public", //服务注册到的命名空间,不能乱填,否者注册不上的 "ListenInterval": 1000, "ServiceName": "BaseApi", //服务名称 "GroupName": "DEFAULT_GROUP", //服务分组 "ClusterName": "DEFAULT", "Ip": "", "PreferredNetworks": "", // select an IP that matches the prefix as the service registration IP "Port": 8805,//端口,如果设置为0就自动获取项目的端口 "Weight": 100, // 权重 "RegisterEnabled": true, "InstanceEnabled": true, "Ephemeral": true, "Secure": false, "AccessKey": "", "SecretKey": "", "UserName": "nacos", "Password": "nacos", "ConfigUseRpc": true, // 为true时,通过 gRPC 去和 nacos server 交互,nacos 2.x版本要设置为true": null, "NamingUseRpc": true, // 为true时,通过 gRPC 去和 nacos server 交互, nacos 2.x版本要设置为true": null, "NamingLoadCacheAtStart": "", "LBStrategy": "WeightRandom", //WeightRandom WeightRoundRobin "Metadata": { "aa": "bb", "cc": "dd" } } ``` 最主要就是nacos服务的地址,登录nacos的账户与密码,以及服务名,服务分组等。 ### 第三步,在Program.cs中去加入nacos的服务注册 ``` //nacos服务注册 builder.Services.AddNacosAspNet(builder.Configuration); ``` 做好以上步骤,启动一下项目就可以在nacos看到注册的服务了。 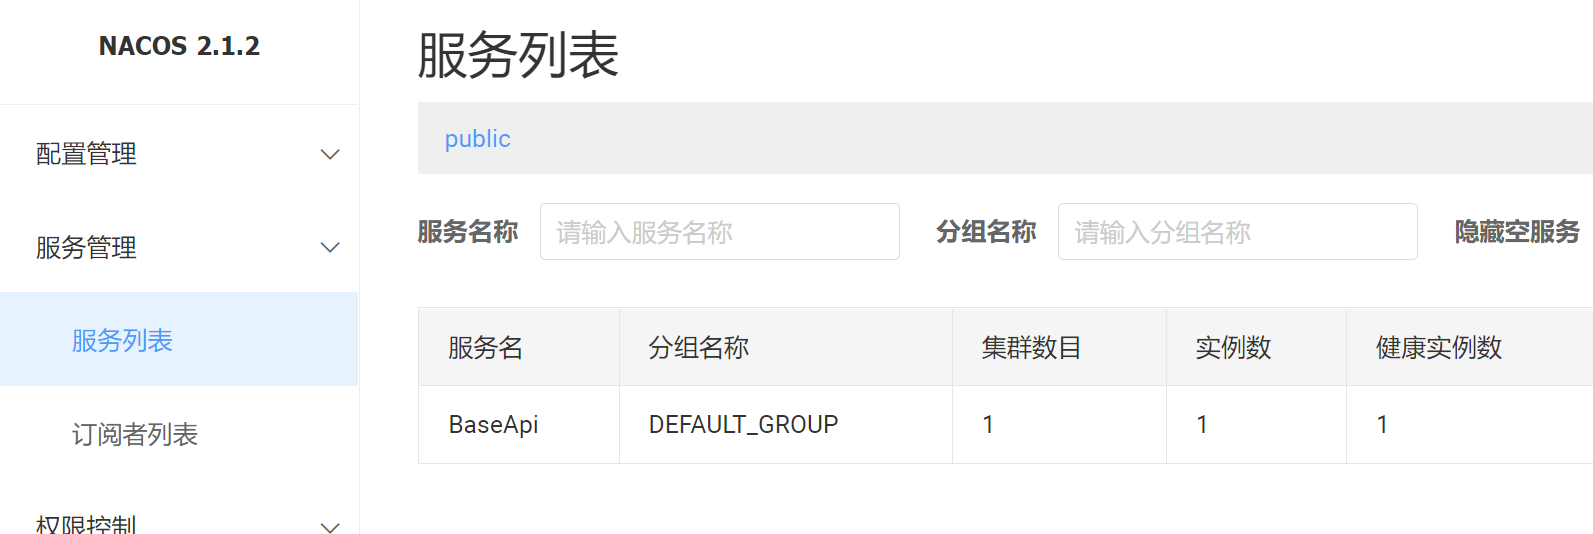 点击服务详情可以看到,服务的ip地址,端口号,元数据,等信息。 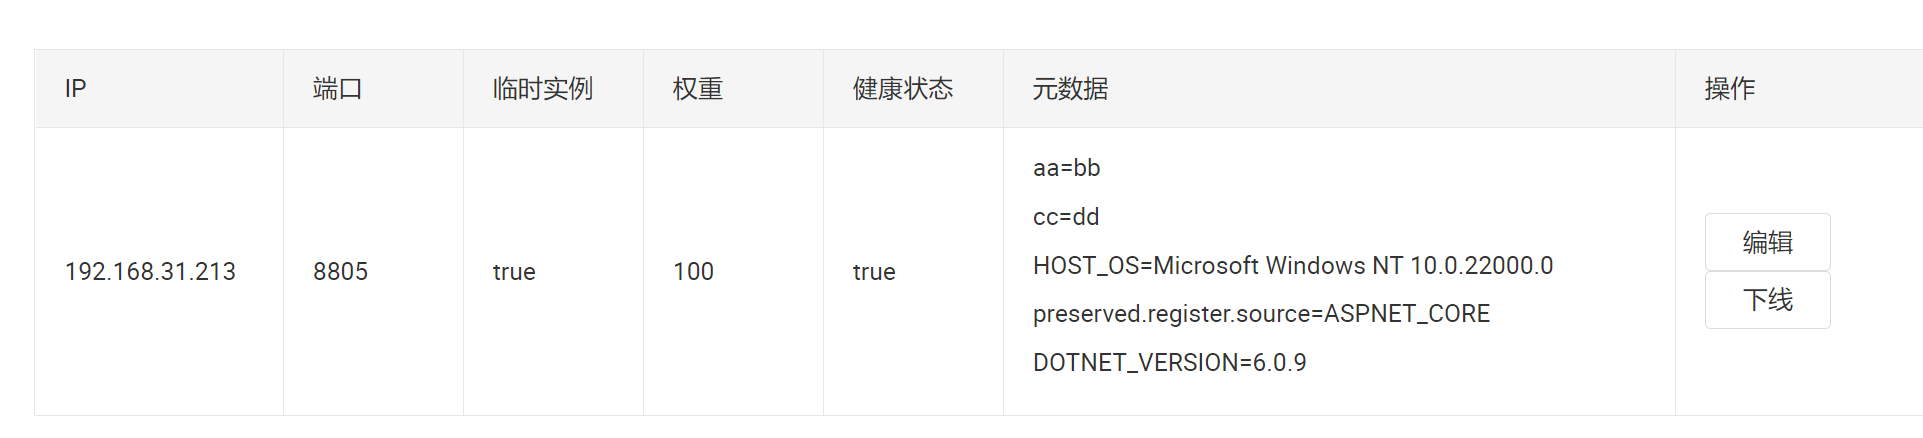 ## .net6使用nacos服务发现 很简单使用INacosNamingService即可。直接贴代码 ``` using Microsoft.AspNetCore.Mvc; namespace NacosLearn.Controllers { [ApiController] [Route("api/[controller]")] public class WeatherForecastController : ControllerBase { private readonly IConfiguration _configuration; private readonly ILogger<WeatherForecastController> _logger; private readonly Nacos.V2.INacosNamingService _svc; public WeatherForecastController(ILogger<WeatherForecastController> logger, IConfiguration configuration, Nacos.V2.INacosNamingService svc) { _logger = logger; _configuration = configuration; _svc = svc; } [HttpGet] public IEnumerable<string> Get() { var dbConfig = _configuration.GetSection("DbConfig"); //读取连接字符串配置 string connectionString = dbConfig["ConnectionString"]; //读取配置 string isAutoCloseConnection = _configuration["DbConfig:IsAutoCloseConnection"]; //读取common里边的配置 string UserName = _configuration["UserName"]; string Password = _configuration["Password"]; return new List<string>() { connectionString, isAutoCloseConnection }; } /// <summary> /// 通过nacos的服务发现来调用接口 /// </summary> /// <returns></returns> [HttpGet("test")] public async Task<string> Test() { // 通过分组与服务名获取 var instance = await _svc.SelectOneHealthyInstance("BaseApi", "DEFAULT_GROUP"); var host = $"{instance.Ip}:{instance.Port}"; var baseUrl = instance.Metadata.TryGetValue("secure", out _) ? $"https://{host}" : $"http://{host}"; if (string.IsNullOrWhiteSpace(baseUrl)) { return "empty"; } //测试调用一下上面那个接口 var url = $"{baseUrl}/api/WeatherForecast"; using (HttpClient client = new HttpClient()) { var result = await client.GetAsync(url); return await result.Content.ReadAsStringAsync(); } } //[HttpGet(Name = "GetWeatherForecast")] //public IEnumerable<WeatherForecast> Get() //{ // return Enumerable.Range(1, 5).Select(index => new WeatherForecast // { // Date = DateTime.Now.AddDays(index), // TemperatureC = Random.Shared.Next(-20, 55), // Summary = Summaries[Random.Shared.Next(Summaries.Length)] // }) // .ToArray(); //} } } ``` ## 怎么动态的注入服务到不同的地方,比如动态切换生产环境与本地开发环境 非常简单,开发环境一个配置,生成环境一个配置,根据环境变量进行加载就行。和使用nacos作为配置中心根据不通情况读取配置一个道理 ``` //获取环境变量。可以环境变量的不同去读取不同naocs服务的配置 string environmentName = builder.Environment.EnvironmentName; builder.Services.AddNacosAspNet(builder.Configuration, "nacos" + environmentName); ``` builder.Services.AddNacosAspNet方法也是可以传递配置节点的,当然可以动态的来加载

